How to Group and Sort the Outlook Inbox With View Settings


The short answer
In classic Outlook, open View > View Settings, then use Group By to pick a field like sender or category and Sort to set the order. Turn off View > Show as Conversations to stop conversation threading. New Outlook and Outlook on the web replace this dialog with a simpler Filter and Sort menu that has far fewer options.
Classic Outlook's View Settings dialog has Group By, Sort and Columns; new Outlook dropped the Group By dialog entirely — not a hidden setting, a smaller feature set.
On this page
- 01Before you start
- 02Set grouping and sort order in classic Outlook
- 03Add columns, filter to unread, and apply the view everywhere
- 04Three ready-made view recipes
- 05Platform differences: classic Outlook vs. new Outlook vs. the web
- 06What to do when it doesn't work
- 07A faster way to keep the inbox organized
Outlook view settings — the Group By, Sort, and Filter controls bundled into one dialog — turn a chaotic inbox into a scannable one without moving a single message. Open View > View Settings in classic Outlook, click Group By to choose a field such as sender or category, click Sort to set the order, and click Columns to decide what shows on each row.
None of this moves a message or deletes anything — it only changes how the list is arranged. Classic Outlook gives you the full Advanced View Settings dialog described below. New Outlook and Outlook on the web trade that dialog for a much smaller Filter and Sort menu, so the same result takes fewer clicks but far fewer options.
Before you start#
Microsoft has been rolling new Outlook out gradually since 2025, and it changes which of the steps below apply to you. Check which one you're actually running before you start — a toggle in the top-right corner of the window switches between classic and new Outlook while both are still available on your machine, and the two keep completely separate view settings.
Views also live per folder, not per account. A Group By and Sort combination you build in the inbox doesn't touch Sent Items, Drafts, or a project folder until you explicitly copy it there — which is step three below, so build it once in the inbox first rather than repeating the whole dialog folder by folder. If you work in Gmail as well, you can show unread emails first in Gmail with a similar one-time setup.
- Classic Outlook: the full Advanced View Settings dialog, custom columns, and saved views described in this post
- New Outlook and Outlook on the web: a Filter and Sort menu with presets, no Group By dialog, no custom columns
- Views are per folder by default — plan to apply the finished view everywhere in one extra step, not fold by folder
Switch out of Compact view first
Set grouping and sort order in classic Outlook#
- 1
Open View Settings
On the View tab, in the Current View group, select View Settings. This opens the Advanced View Settings dialog, which is where every grouping, sorting, and column change in classic Outlook actually happens.
- 2
Choose what to group by
Click Group By. Outlook groups by date automatically until you turn that off, so clear "Automatically group according to arrangement" first, then pick a field from the Group items by list — From to group by sender, Categories for project labels, or Size or Importance for triage. Add a second field under Then by for a subgroup.
- 3
Set the sort order
Click Sort. Outlook stacks up to four sort levels — for example Received first and Flag Status second, each ascending or descending — so flagged mail rises inside every date group instead of only at the top of the whole list.
- 4
Turn conversation grouping on or off
Group By and Sort act on individual messages; conversation threading is a separate layer on top of both. On the View tab, in the Messages group, turn Show as Conversations off if you want your grouping and sort order applied to single messages instead of collapsed threads.
- 5
Apply the changes
Click OK on the Advanced View Settings dialog. The list re-renders immediately with no restart, and the settings stay attached to this folder until you change them again or apply a different view to it.
Add columns, filter to unread, and apply the view everywhere#
- 1
Add or remove columns
Back in View Settings, click Columns. Move fields between Available columns and Show these columns in this order using Add and Remove, reorder with Move Up and Move Down, and use New Column to build a custom one. This only takes effect in a list-style view — in the default Compact view, a new column won't show up no matter how it's configured.
- 2
Filter down to unread, or anything more specific
For a one-click unread-only view, use the Unread preset at the top of the message list — classic Outlook, new Outlook, and the web all support it now. For anything narrower, such as unread from one sender with an attachment, click Filter inside View Settings and build the condition on the Advanced tab instead of relying on the preset.
- 3
Apply the view to every folder
A view built in the inbox stays in the inbox by default; every other folder keeps whatever it already had. On the View tab, select Change View, then Apply Current View to Other Mail Folders, and check every folder that should get the same grouping, sort order, and columns.
- 4
Reset if something breaks
If a view stops behaving the way you set it — usually after an add-in or an update touches it — go to the View tab and select Reset View to put the current folder back to its default. If that button is greyed out, close Outlook and run outlook.exe /cleanviews from the Run dialog to clear every custom view across every folder at once, without touching any mail.
Three ready-made view recipes#
These three combinations cover most of what people are actually trying to do when they open View Settings. Build each once in the inbox, then use Apply Current View to Other Mail Folders from the steps above if you want the same recipe everywhere.
| Recipe | Group by | Sort by | Filter |
|---|---|---|---|
| By sender, for client work | From | Received, newest first | None |
| Unread-first triage | None (Show as Conversations off) | Received, newest first | Unread |
| By category, for project triage | Categories | Received, newest first | None |
Platform differences: classic Outlook vs. new Outlook vs. the web#
This is where most of the frustration comes from. Every step above assumes classic Outlook, because new Outlook and Outlook on the web genuinely don't expose a Group By dialog, custom columns, or saved views — that isn't a bug or a settings menu you haven't found yet, it's a smaller feature set by design as of mid-2026.
| Capability | Classic Outlook | New Outlook | Outlook on the web |
|---|---|---|---|
| Full Group By dialog, any field | Yes — Advanced View Settings | No — Settings > Mail > Layout only | No |
| Custom columns | Yes, via Columns > New Column | Not available | Not available |
| Conversation threading toggle | View tab > Show as Conversations | Settings > Mail > Layout > Message organization | View tab > Conversations menu |
| Filter presets | All/Unread toggle, plus a full Filter dialog with advanced conditions | Filter button: Unread, Flagged, To me, Mentions me, Has attachments | Filter button: All, Unread, Flagged, To me, Has files, Mentions me |
| Sort options | Up to four stacked sort levels via the dialog | Filter > Sort by: Date, From, Subject, Size, Importance | Sort by Date or Size, oldest or newest on top |
| Apply one view to other folders | Yes — Change View > Apply Current View to Other Mail Folders | Not available | Not available |
| Reset a broken view | Reset View button, or outlook.exe /cleanviews | Not applicable — no saved custom views to reset | Not applicable |
What to do when it doesn't work#
Most view problems trace back to one of four causes, and none of them require rebuilding the view from scratch. Work through these before assuming Outlook is broken.
A new column not appearing almost always means the folder is still in Compact view, which fixes its two-line layout regardless of which fields you've turned on. Switch to Single or another list layout under Change View and the column shows up immediately.
A view that seems to reset itself after a restart is usually an add-in interfering, or the folder's stored view definition getting corrupted rather than actually being cleared. Reset View fixes the current folder without deleting any mail; outlook.exe /cleanviews is the blunter version that clears every folder at once if the button itself is greyed out.
If Apply Current View to Other Mail Folders looks like it did nothing, check that you selected the folders in the dialog before clicking OK — it applies only to what's checked, not to every folder by default. And if you switched to new Outlook and lost a customization you were relying on, that's expected: new Outlook doesn't read classic Outlook's saved views, and it has no equivalent for Group By or custom columns to switch to.
- Column missing → switch out of Compact view
- View reverts on its own → Reset View, or /cleanviews if the button is disabled
- Apply to Other Folders did nothing → recheck which folders you selected
- Setting vanished after switching to new Outlook → expected, it has no equivalent feature
Show as Conversations asks first
A faster way to keep the inbox organized#
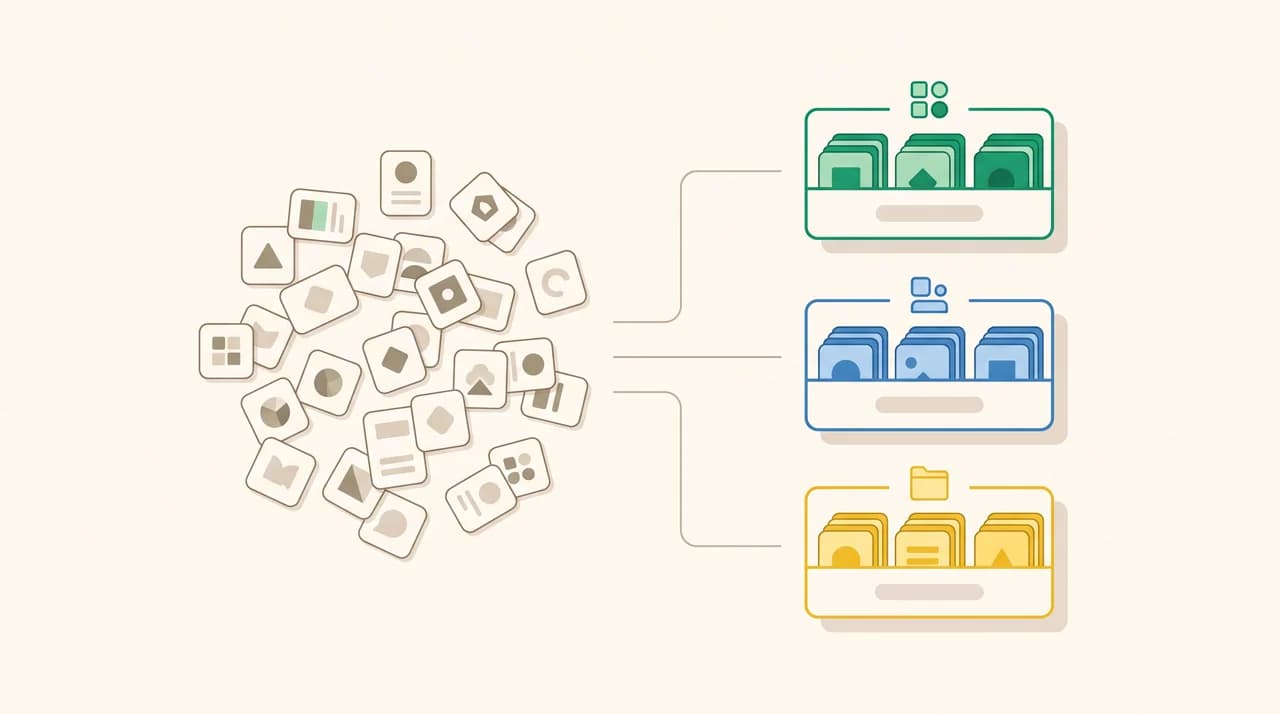
A view is a snapshot of a rule you set once. New mail doesn't know your Group By field or your sort order — it lands wherever those rules put it, but which message actually matters keeps changing after it arrives, and no view setting re-evaluates that for you.
AI Emaily runs that judgment continuously instead of on a schedule you have to maintain: mail gets triaged by who's actually waiting on a reply versus what's just noise, refreshed as new mail arrives rather than the moment you last opened View Settings. It connects to Outlook as one more inbox, not a replacement for the view you just built, so a sender-grouped folder and a continuously triaged one can run side by side. We build AI Emaily — see how the triage works on the AI email assistant page.
Frequently asked
See it in AI Emaily
Keep reading
Sources
- Microsoft Support — Outlook help & learning
- Microsoft Support — Feature comparison between new Outlook and classic Outlook
- Microsoft Support — Group or ungroup messages in your inbox
- Microsoft Support — Change how the message list is displayed in Outlook
- Microsoft Support — View only unread messages in Outlook

Written by
Nafiul HasanNafiul Hasan is an entrepreneur and AI automation system builder with 10+ years of experience turning messy, manual workflows into reliable automated systems. He designs and ships AI enterprise solutions end-to-end — the agent logic, the data plumbing, and the product people actually use — and founded AI Emaily to give busy professionals their attention back. He writes here from the builder's seat: what works, what breaks, and how to put AI to work without giving up control.