Zoho Mail SPF, DKIM and DMARC Setup: Full Walkthrough

The short answer
Publish an SPF TXT record at your domain root: v=spf1 include:zohomail.com -all. Then generate DKIM in the Zoho admin console under Domains, your domain, Email Configuration, DKIM, choose a selector, and publish the selector._domainkey TXT it gives you. Finally add a DMARC TXT at _dmarc starting p=none.
Zoho Mail SPF, DKIM and DMARC setup: the exact DNS values, the admin console DKIM selector flow, and a safe first DMARC record for a custom domain.
On this page
- 01The short answer, record by record
- 02Before you start
- 03Step 1: Publish your SPF record
- 04Step 2: Generate a DKIM selector in the Zoho admin console
- 05Step 3: Add your first DMARC record
- 06How Zoho compares to Google and Microsoft
- 07What to do when it doesn't work
- 08A faster way to handle what lands after you authenticate
This is a full walkthrough of Zoho Mail SPF, DKIM and DMARC setup for a custom domain: the exact SPF value to publish, how to generate a DKIM selector inside the Zoho admin console, and a safe first DMARC record. It is implementation, not theory — if you want the definitions of each protocol, the glossary posts cover those. Here the goal is a Zoho domain that authenticates cleanly.
Two of the three records are TXT entries you add by hand at your DNS host; only DKIM is generated inside Zoho's console, where you pick the selector yourself. Every value and console path below was checked against Zoho's own admin help in August 2026. One quirk trips people that the Google and Microsoft guides never mention: which regional console you sign into, because Zoho runs separate data centres.
The short answer, record by record#
You are publishing three DNS records. SPF and DMARC are TXT records you add at your domain host. DKIM is a key pair Zoho generates after you choose a selector name in the admin console — you copy the record it produces into your DNS, then click Verify back in Zoho.
Do them in order: SPF and DKIM first, then DMARC, because a DMARC record with nothing to check under it does no good. The table below is the whole job at a glance.
| Record | Where you set it | Host / name | TXT value or source |
|---|---|---|---|
| SPF | Your DNS host | @ (the root domain) | v=spf1 include:zohomail.com -all |
| DKIM | Generated in the Zoho admin console, published at your DNS host | selector._domainkey (e.g. zoho._domainkey) | The v=DKIM1; k=rsa; p= key Zoho generates for your chosen selector |
| DMARC | Your DNS host | _dmarc | v=DMARC1; p=none; rua=mailto:[email protected] |
Before you start#
Gather a few things first so you are not hunting for access mid-task. Authentication touches both your DNS host and the Zoho admin console, and Zoho adds one wrinkle the other providers do not: you must use the console for the data centre your account lives in.
- Administrator access to the Zoho Mail Admin Console for your account's data centre. Zoho runs separate regions — for example mail.zoho.com (US), mail.zoho.eu (EU) and mail.zoho.in (India) — and the DKIM controls only appear in the console that matches where your account was created.
- Sign-in access to your domain's DNS host — your registrar, or wherever the nameservers point — because SPF, DKIM and DMARC all live there as records you add by hand.
- A list of every other service that sends mail as your domain — a newsletter tool, a CRM, an invoicing app. Each has to be authorised, or its mail will fail once DMARC tightens.
- Patience for propagation. DNS changes usually appear within minutes but can take up to 48 hours, and Zoho will not verify a record it cannot yet see.
The console you sign into depends on your region
Step 1: Publish your SPF record#
SPF tells receiving servers which systems are allowed to send mail for your domain. For a domain that sends only through Zoho Mail, Zoho's recommended record is a single line.
- 1
Sign in to your DNS host
Go to wherever you manage DNS for the domain — your registrar or DNS provider — and open the TXT record section. This is done at your DNS host, not inside the Zoho console.
- 2
Add one TXT record at the root
Create a TXT record with the host or name set to @ (the root domain) and the value v=spf1 include:zohomail.com -all. That include tells the world Zoho's servers are authorised to send as you.
- 3
Keep it to a single SPF record
A domain may publish only one SPF record. If one already exists, edit it rather than adding a second — two v=spf1 records cause a permanent SPF failure. If you send through Zoho's wider suite of apps as well, Zoho documents include:one.zoho.com in place of zohomail.com.
- 4
Save and let it propagate
Save the record. Most DNS hosts update within minutes, though changes can take up to 48 hours. Confirm it has published with any public DNS lookup tool before moving on.
Zoho documents -all — know the trade-off
Step 2: Generate a DKIM selector in the Zoho admin console#
DKIM adds a cryptographic signature to every message so a receiver can confirm it really came from your domain and was not altered in transit. Unlike Google, Zoho asks you to choose the selector name yourself — and that choice is the part people get wrong.
- 1
Open the DKIM settings
In the Zoho Mail Admin Console, go to Domains, select your domain, open the Email Configuration tab, and choose DKIM. Console labels shift over time; as of August 2026 this is the path.
- 2
Add a selector
Click Add and enter a selector name. Zoho's own example uses zoho, but any short label works, and you can create several — for example marketing or billing — for different sending sources. Pick 2048-bit key length if your DNS host supports it, or 1024-bit if it does not.
- 3
Publish the record it gives you
Zoho shows a TXT host name in the form selector._domainkey — for the zoho selector that is zoho._domainkey — and a long value beginning v=DKIM1; k=rsa; p=. Copy both into a new TXT record at your DNS host exactly as shown.
- 4
Return to Zoho and verify
Once the record has propagated, come back to the DKIM screen and click Verify. Zoho checks that selector._domainkey resolves with the key it issued before it marks DKIM as active. It will not sign your mail until this passes.
The selector in DNS must match the one in Zoho
Step 3: Add your first DMARC record#
DMARC ties SPF and DKIM together: it tells receivers what to do with mail that fails authentication, and asks them to send you reports. Set SPF and DKIM up first and let them verify before you publish DMARC, or you can cause the delivery problems it is meant to prevent.
- 1
Confirm SPF and DKIM are live
Check that your SPF record resolves and that the Zoho console shows DKIM as active. DMARC only instructs receivers on failures, so it needs a working check under it.
- 2
Add a TXT record at _dmarc
At your DNS host, create a TXT record with the host or name set to _dmarc and the value v=DMARC1; p=none; rua=mailto:[email protected]. Point the address at a real mailbox you can read.
- 3
Start at p=none and read the reports
p=none is monitor-only: it enforces nothing but starts the aggregate reports flowing to your rua address. Watch them for a few weeks to confirm every legitimate sender passes alignment before you tighten.
- 4
Tighten to quarantine, then reject
Once your reports show only mail you actually send passing, move the policy to p=quarantine, and later p=reject, to actively block spoofed mail. Move one step at a time and keep reading the reports after each change.
Ignore any guide that tells you to add pct=
How Zoho compares to Google and Microsoft#
All three providers use the same three records, but the details differ enough that a Google or Microsoft guide will steer you wrong on Zoho. The selector and the DKIM record type are where they diverge most.
| Dimension | Zoho Mail | Google Workspace | Microsoft 365 |
|---|---|---|---|
| SPF include | include:zohomail.com | include:_spf.google.com | include:spf.protection.outlook.com |
| DKIM selector | You choose it (Zoho's example: zoho) | Fixed: google | Fixed pair: selector1, selector2 |
| DKIM record type | One TXT you publish | One TXT you publish | Two CNAMEs pointing to Microsoft |
| Where DKIM is generated | Admin Console, per data centre | Admin console (single, global) | Defender / Exchange admin centre |
| Regional consoles | Separate per data centre (US, EU, India, others) | One global console | One global console |
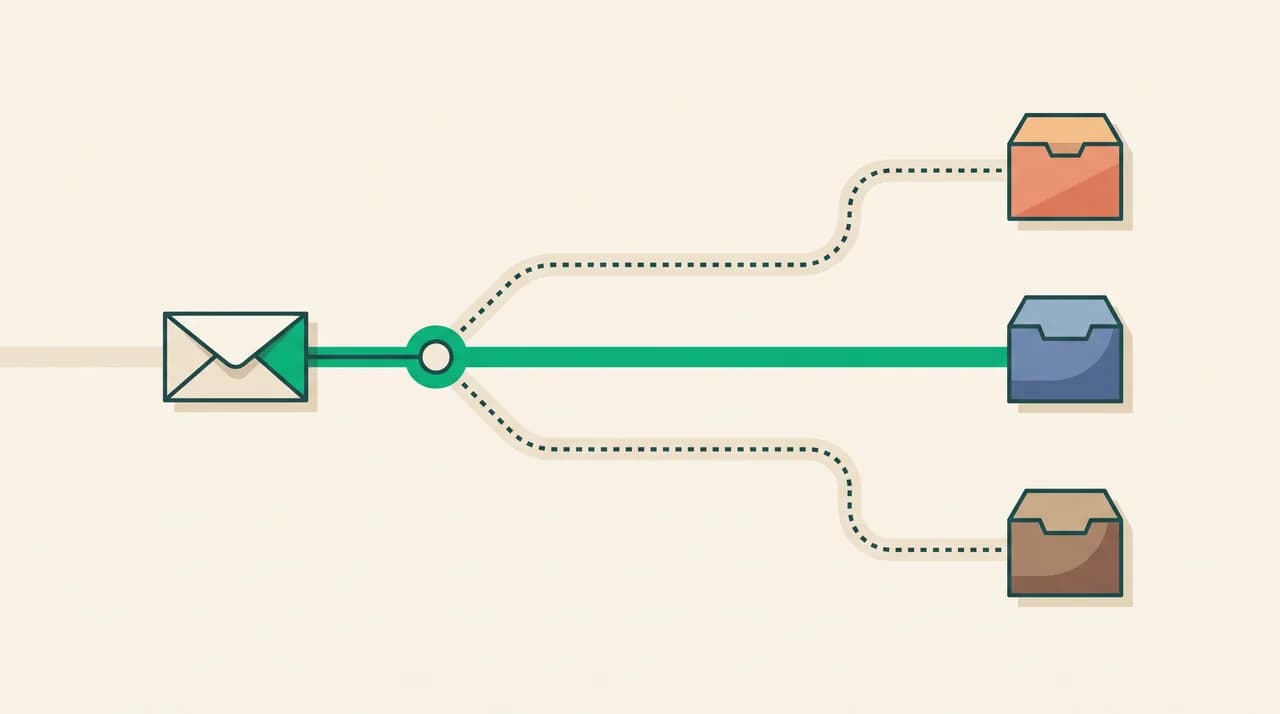
Whichever provider you use, the three records do the same three jobs in the same order — the differences above are only in where you generate each one and what you type. It helps to picture what a receiver actually does with them: SPF checks the sending server, DKIM checks the signature, and DMARC decides what happens when either one fails and whether the passing domain aligns with your visible From address.
What to do when it doesn't work#
Most Zoho setup failures come down to the selector, the region, or a record that has not propagated. Read the specific symptom rather than re-adding everything — the fix is usually one field.
| Symptom | Likely cause | What to fix |
|---|---|---|
| Zoho DKIM will not verify | The DNS host doubled the name (zoho._domainkey.yourdomain.com.yourdomain.com), or the selector does not match | Enter only zoho._domainkey where the host appends your domain; make the DNS selector match the one you named in Zoho |
| The DKIM option is missing from the console | You are signed into the wrong data centre's console | Sign into the console for your account's region (mail.zoho.com, mail.zoho.eu, mail.zoho.in and so on) |
| SPF still fails after 48 hours | Two SPF records on the domain, or the old include:zoho.com value | Merge into one v=spf1 record using include:zohomail.com; a domain may have only one |
| Mail to Gmail bounces with 550 5.7.26 | Neither SPF nor DKIM aligns with the visible From domain | Send as an address on the domain you authenticated, not a different one |
| DMARC reports show your own mail failing | A legitimate sender is not authorised in SPF or DKIM | Add its include or give it its own DKIM selector before moving past p=none |
The trap under most of these is alignment: a message can pass SPF or DKIM and still fail DMARC if the domain that passed does not match your visible From address. When in doubt, start from the DMARC aggregate reports — they name every source sending as you and show which check each one passes or fails.
A faster way to handle what lands after you authenticate#
Authentication is a one-time DNS job that protects your outbound mail's reputation. Nothing automates it for you — publishing SPF, DKIM and DMARC is between you and your DNS host, and an email client has no business touching your zone file. AI Emaily does not set these records up, and it is not a DMARC monitoring service; the records above are yours to add, and this page exists to get them right whether or not you ever sign up.
What none of these records touch is the mail that reaches your own inbox once your domain is trusted. That continuous side is the part we work on. AI Emaily connects to your Zoho mailbox over IMAP and triages what arrives, flags spoofed and phishing mail that slips past a receiver's own checks, and drafts replies in a voice you set that you approve before they send — with undo and an audit trail, and no training on your mail. It touches your inbox, never your DNS. We build AI Emaily; pricing is a 7-day free trial on Pro or Autopilot.
Frequently asked
See it in AI Emaily
Keep reading
Sources

Written by
Nafiul HasanNafiul Hasan is an entrepreneur and AI automation system builder with 10+ years of experience turning messy, manual workflows into reliable automated systems. He designs and ships AI enterprise solutions end-to-end — the agent logic, the data plumbing, and the product people actually use — and founded AI Emaily to give busy professionals their attention back. He writes here from the builder's seat: what works, what breaks, and how to put AI to work without giving up control.