How to Set Up a Custom Domain on Proton Mail (DNS + Verification)

The short answer
Add a custom domain on any paid Proton Mail plan under Settings → Domain names, then verify ownership with a TXT record, add two MX records pointing to mail.protonmail.ch, an SPF TXT record, three DKIM CNAME records, and a DMARC TXT record. Verification usually completes in minutes to a few hours, depending on your domain's previous DNS TTL.
Add and verify a custom domain on Proton Mail: TXT verification, MX, SPF, DKIM and DMARC records, plan requirements, and fixes if it stalls.
On this page
Setting up a custom domain on Proton Mail means adding five kinds of DNS records to your domain registrar and letting Proton verify each one: a TXT record to prove you own the domain, two MX records to route mail there, and TXT and CNAME records for SPF, DKIM and DMARC so mail sent from that domain isn't rejected as spoofed. The whole process runs from Settings → Domain names inside Proton Mail, and none of it needs a developer — it needs access to your domain's DNS console and about twenty minutes.
This post covers domain-level setup only: getting a domain you own, like [email protected], working with Proton Mail on a plan that supports it. Aliases, SimpleLogin forwarding addresses and catch-all routing are related but separate topics — this is the DNS work that has to be done and verified before any of that becomes relevant.
Before you start#
A few things save you a wasted round trip once you're inside Proton's domain wizard.
- A paid Proton Mail plan. Custom domains aren't available on Free at all — Mail Plus includes one domain, Unlimited includes three, and Proton's business tiers (Mail Essentials, Workspace Standard, Workspace Premium) support more.
- Access to your domain's DNS console — wherever you registered or manage the domain's records, not inside Proton itself.
- About 20–30 minutes to add every record in one sitting rather than spreading the change across a few days. A domain that's half set up causes more delivery problems than one that hasn't been started.
- A low DNS TTL (time to live) if you can set one ahead of time. Verification waits on your DNS provider, not Proton's servers — a TTL of 24 hours, common on older setups, is the usual reason verification takes hours instead of minutes.
- A plan for what happens to mail sent to your old address during the switch. Nothing about this setup forwards old mail automatically.
Steps to add and verify the domain#
Add these records in order. Each one depends on the domain existing in Proton first, and Proton checks them independently, so a mistake on one record doesn't block the others from verifying.
- 1
Add the domain
In Proton Mail, go to Settings → Domain names → Add domain, type the domain name, and click Next. This screen only exists on a paid plan — Free accounts don't have a Domain names section to open.
- 2
Verify you own it
Proton generates a unique code. Add it as a TXT record: host name @ (or leave the host blank, or use the full domain, if your registrar's console rejects @), value protonmail-verification=xxx exactly as shown. Click Next in Proton to trigger the check.
- 3
Add the MX records
Add both MX records Proton lists — mail.protonmail.ch at priority 10, plus its backup record — with host @. Remove or deprioritize any MX record left from a previous email provider; two MX records at competing priorities split mail between two mailboxes instead of routing it to one.
- 4
Add the SPF record
One TXT record: host @, value v=spf1 include:_spf.protonmail.ch mx ~all. Keep exactly one SPF record on the domain — if a previous host's SPF TXT record is still sitting in your DNS, delete it instead of adding a second one, since two SPF records invalidate both.
- 5
Add all three DKIM records
Proton's domain settings list three CNAME records under the DKIM tab. Add all three, copying host and value exactly as shown. All three exist so Proton can rotate its signing keys automatically roughly every six months without asking you to touch DNS again.
- 6
Add the DMARC record
A TXT record at host _dmarc. Proton's setup wizard suggests p=quarantine by default; starting at p=none while you confirm SPF and DKIM are both passing is also reasonable. Add an optional rua= address if you want aggregate failure reports.
- 7
Create addresses, then test end to end
Once every record shows verified, create the actual addresses you'll use on the domain and send yourself a test message from an outside account. A catch-all address is optional at this point — set one under Organization → Domain names → Actions → Set catch-all if you want mail sent to any not-yet-created address to land somewhere instead of bouncing.
The most common failure isn't a new record — it's an old one
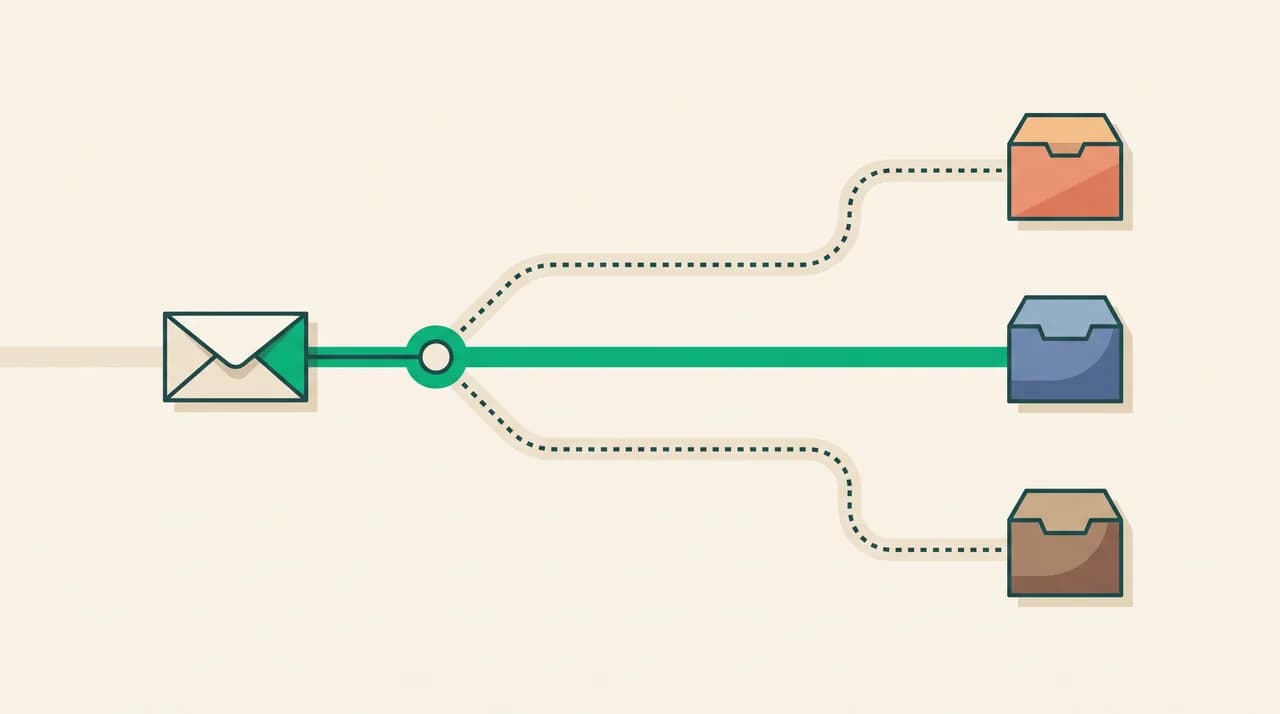
Five separate records, one job between them: prove you own the domain, then tell every other mail server on the internet where to deliver to it and why to trust what arrives from it.
Platform differences#
Proton publishes a separate walkthrough for Cloudflare, GoDaddy, Namecheap, Gandi, OVH, AWS, Porkbun, Hostpoint and Bluehost, because the screen for adding a record isn't identical everywhere. The records themselves never change — only how you enter them does.
| DNS host | What's different |
|---|---|
| Cloudflare | The three DKIM CNAME records must be set to DNS only, not Proxied. Proton's own guide is explicit that leaving the orange-cloud proxy on stops the record from propagating. |
| GoDaddy, Namecheap and most standard registrars | @ works as the host name for the TXT and MX records without special handling — the general steps above apply as written. |
| Any console that rejects @ as a host name | Leave the host field blank, or enter the full domain name instead of @, per Proton's own fallback instruction. |
| Any registrar, for the DKIM CNAME values specifically | Some consoles append a trailing dot to a pasted value automatically, others require you to add it yourself. Copy the value exactly as Proton displays it and don't add or strip a dot on a guess. |
What to do when it doesn't work#
- TXT verification never completes: confirm the host field is exactly @ or blank (not the full subdomain, unless your registrar requires that), check for stray quotation marks or trailing spaces around protonmail-verification=xxx, and wait out your old TTL — some platforms hold onto a previous record for one to three days regardless of what you've since changed.
- The domain verifies but mail isn't arriving: look for a leftover MX record from a previous provider outranking Proton's. Priority is lowest-number-wins, so an old record at priority 0 or 5 beats Proton's record at priority 10 even if Proton's record verified correctly.
- DKIM shows as failing in message headers: the CNAME value was likely truncated, or given an extra character, when it was retyped instead of copied. Recopy all three values directly from Proton's domain settings rather than typing them by hand.
- SPF fails intermittently rather than consistently: check for a second SPF TXT record left behind by a previous host. DNS allows exactly one SPF record per domain — two present makes both invalid rather than additive.
- Verification is stuck on "pending" past a day: open the domain in Settings and click Verify again to force a fresh check rather than waiting for Proton's next automatic recheck.
A faster way#
Everything above is domain-level plumbing. Proton doesn't touch what happens to the mail once it's flowing — that's a separate, ongoing job: reading what arrives, filing what matters, and drafting replies, done by hand every day the domain is live.
AI Emaily connects to a Proton Mail account on a custom domain the same way it connects to Gmail, Outlook or any other provider — nothing about the DNS work above changes once your domain verifies. Once mail is flowing, the agent triages what comes in, drafts replies from a Personal Context brain you set yourself, and asks for your approval before anything sends, with undo and an audit trail on every action it takes. It isn't a DNS tool or a way around the setup above — it's what runs after the domain part is finished. We build AI Emaily.
Frequently asked
See it in AI Emaily
Keep reading
Sources

Written by
Nafiul HasanNafiul Hasan is an entrepreneur and AI automation system builder with 10+ years of experience turning messy, manual workflows into reliable automated systems. He designs and ships AI enterprise solutions end-to-end — the agent logic, the data plumbing, and the product people actually use — and founded AI Emaily to give busy professionals their attention back. He writes here from the builder's seat: what works, what breaks, and how to put AI to work without giving up control.