How to Use a Custom Domain with iCloud Mail

The short answer
iCloud+ (any paid tier) lets you attach one personal domain and send mail from it, layered as an alias on your Apple ID. Add the domain in iCloud settings, then add MX, SPF and DKIM records at your registrar — verification usually completes in minutes. Limit: one domain, up to 3 addresses, and it stops working the moment you cancel iCloud+.
Set up a custom domain on iCloud Mail: DNS records, address limits, and what breaks if you cancel iCloud+.
On this page
- 01What you need before you start
- 02Steps: adding a custom domain to iCloud Mail
- 03iCloud custom domain limits, in one table
- 04Can you use an iCloud custom domain for a business?
- 05What happens to your domain if you cancel iCloud+
- 06Why won't my iCloud custom domain verify
- 07A faster way: skip the manual DNS work every time you add someone
iCloud+ lets you send and receive mail from a domain you own — [email protected] instead of [email protected] — without leaving Apple Mail or the iCloud Mail web app. Apple calls this a Custom Email Domain, and it has been part of iCloud+ since iOS 15.
It is not a hosting plan and it is not a business email product. It is an alias layered on top of the iCloud account you already have, with real limits on domain count, address count, and what happens if you stop paying. This post covers setup, the DNS records Apple actually asks for, and the exit cost most people don't check before they commit a business domain to it.
What you need before you start#
You need an active iCloud+ subscription — the 50 GB tier and up all include custom domain support, so this is not a premium-only feature within iCloud+. You also need a domain you already own, registered anywhere (Cloudflare, Namecheap, GoDaddy, Google Domains successors — Apple doesn't care where).
You need access to that registrar's DNS panel, because Apple will hand you records to paste in, not a control panel of its own. And you need two-factor authentication turned on for your Apple ID — Apple requires it for this feature and won't let you proceed without it.
- An iCloud+ subscription (any paid tier)
- A domain you own, at any registrar
- DNS edit access at that registrar
- Two-factor authentication enabled on your Apple ID
Steps: adding a custom domain to iCloud Mail#
- 1
Open iCloud Mail settings
On Mac: System Settings → your name → iCloud → iCloud Mail → Custom Email Domain. On iPhone/iPad: Settings → your name → iCloud → iCloud Mail → Custom Email Domain. You can also do this at icloud.com/settings from any browser.
- 2
Enter the domain and let Apple check it
Type the domain (not a subdomain — the root domain, like yourcompany.com). Apple checks it isn't already tied to another Apple ID and isn't on a small blocklist of domains it won't accept.
- 3
Add the DNS records Apple gives you
Apple generates an MX record, an SPF (TXT) record, and a DKIM (TXT) record specific to your domain. Copy each one into your registrar's DNS panel exactly as shown — including the priority number on the MX record.
- 4
Wait for verification
iCloud polls your DNS automatically. Most registrars propagate in minutes; a few (usually ones with long default TTLs) can take up to 24-48 hours. You'll get a checkmark next to each record once it resolves correctly.
- 5
Create your first address and set it as default (optional)
Once verified, add an email address on the domain — it doesn't have to match your Apple ID. You can set it as your default "From" address so replies and new mail send from it automatically.
iCloud custom domain limits, in one table#
| Limit | What it actually is |
|---|---|
| Domains per Apple ID | 1 — you cannot attach a second domain to the same account |
| Addresses on that domain | Up to 3, shared across you and anyone the domain is shared with |
| Family Sharing | Up to 5 additional family members can each get an address on your domain |
| Subdomain support | No — Apple requires the root domain, not mail.yourcompany.com |
| Aliases vs. mailboxes | All addresses funnel into the one Apple ID's inbox — there's no separate mailbox per address |
| Sending domain reputation | Shared with Apple's iCloud sending infrastructure, not something you control independently |
Can you use an iCloud custom domain for a business?#
Technically yes, and plenty of solo founders do it for a professional-looking address without paying for Google Workspace or Microsoft 365. But it was built for a household, not a company.
The 3-address cap and the lack of per-person mailboxes are the two things that break down first. If you hire a fourth person, or need someone to have their own inbox rather than an alias into yours, iCloud's custom domain has no path forward — you'd need to migrate to a real business email provider, at which point you're doing this setup twice.
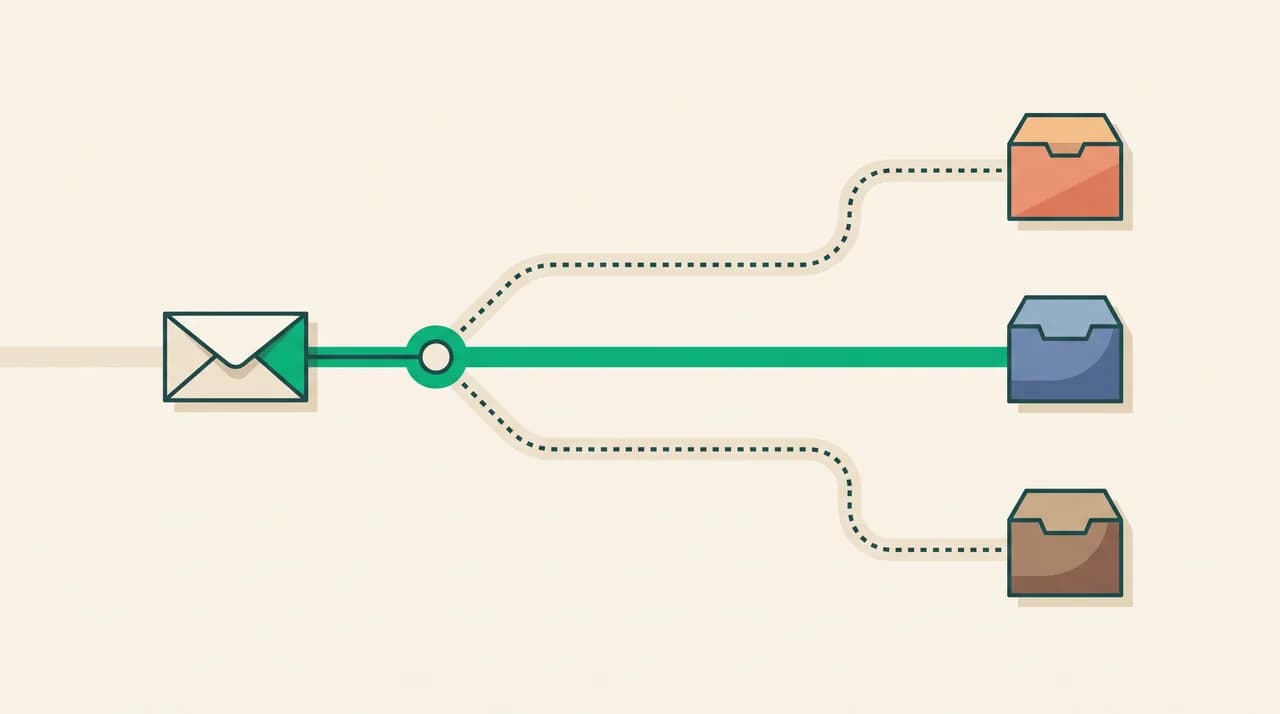
One inbox behind every address
What happens to your domain if you cancel iCloud+#
This is the part that costs people the most if they find out after the fact. Custom Email Domain is an iCloud+ feature, not a standalone product — if your iCloud+ subscription lapses or you downgrade to the free 5 GB tier, mail sent to your custom domain addresses stops arriving. It doesn't bounce to a fallback address; it simply fails to deliver once the grace period Apple gives you runs out.
Your domain's DNS records stay pointed at Apple until you change them, so anyone still emailing the old address gets a delivery failure with no forwarding notice, unless you manually update your DNS to point somewhere else first.
Don't put a business domain here without a backup plan
Why won't my iCloud custom domain verify#
Verification failures are almost always one of three things: a record pasted with extra characters, a registrar that requires the record without the trailing domain (some panels auto-append it, some don't), or DNS that simply hasn't propagated yet.
| Symptom | Likely cause | Fix |
|---|---|---|
| MX record won't verify | Priority number missing or wrong | Re-check the exact priority Apple showed — it must match, not just the hostname |
| SPF or DKIM stuck pending | Registrar auto-added the domain suffix twice | Look at the saved record's raw value; strip a duplicated domain name if present |
| Everything looks right, still pending after a day | Long TTL on an old record for that host | Lower the TTL on the old record, wait it out, then re-check in iCloud settings |
| Domain rejected outright | Domain already linked to a different Apple ID | Remove it from the other account first, or use a different domain |
A faster way: skip the manual DNS work every time you add someone#
The steps above are a one-time setup, but they resurface every time you add a family member's address, switch registrars, or troubleshoot a verification failure — and iCloud's setup wizard doesn't remember any of it for you. If you're managing mail for more than one or two people, that manual DNS work adds up.
AI Emaily connects to your existing custom-domain mailbox over IMAP once it's set up — Gmail, Outlook, or an iCloud custom domain address all work the same way — and then handles the day-to-day: triaging what lands in that shared inbox, drafting replies in your voice, and flagging anything that needs your approval before it sends. It doesn't replace the DNS setup above; it's what running that inbox continuously looks like afterward. We build AI Emaily, and you can try it free for 7 days on the Pro or Autopilot plan (card required, $0 if you cancel before day 7).
Frequently asked
See it in AI Emaily
Keep reading

Written by
Nafiul HasanNafiul Hasan is an entrepreneur and AI automation system builder with 10+ years of experience turning messy, manual workflows into reliable automated systems. He designs and ships AI enterprise solutions end-to-end — the agent logic, the data plumbing, and the product people actually use — and founded AI Emaily to give busy professionals their attention back. He writes here from the builder's seat: what works, what breaks, and how to put AI to work without giving up control.