How to Add an Alias Address in GMX Mail

The short answer
In GMX Mail, go to Settings, then Alias Addresses, enter a username, pick a domain, and create it — no separate signup or password. To send from that alias, click the arrow next to the sender field in the composer and select it. A GMX account supports up to 10 alias addresses, and mail sent to any of them lands in the same inbox.
Add, send from, and file mail for a GMX alias — the account limit, sender picker, and filter setup, step by step.
On this page
GMX gives every account up to 10 alias addresses, and creating one takes under a minute — no new signup, no separate password, no second inbox to check. That makes it a genuinely useful way to hand out a throwaway-looking address for signups, newsletters, or a side project, while every reply still lands where you already read mail.
This covers creating an alias, choosing it as the sender when you write a new message, filing incoming alias mail automatically, and the one case where an alias isn't the right tool and a real account is.
Before you start#
An alias is not a second mailbox. It's an extra address that delivers into your existing GMX inbox, using your existing password to log in and your existing storage quota. Deleting an alias later removes the address, not any mail already delivered under it — that mail stays in your inbox.
You'll need to be signed in to GMX Mail on the web to add or manage aliases; the setting isn't exposed the same way in the mobile app.
- Works the same on a free or paid GMX account — the 10-alias limit is per account, not per plan tier
- Aliases can use a different GMX domain than your primary address (gmx.com, gmx.us, gmx.co.uk, gmx.ca, and others GMX offers)
- You cannot reuse an alias username once someone else — including a future you — claims it after you delete it
Steps to add and use a GMX alias#
- 1
Open Alias Addresses in Settings
In GMX Mail on the web, go to Settings, then find Alias Addresses under your account settings.
- 2
Enter a username and pick a domain
Type the local part you want (before the @) and choose which GMX domain it should sit on. Availability is checked the same way it was when you created your main address.
- 3
Create the alias
Confirm, and the address is active immediately. No verification email, no separate password — it authenticates exactly like your primary address.
- 4
Send from it
In the composer, click the drop-down arrow next to the sender field and select the alias. The wrench icon next to it lets you set a default sender if you want a given alias to be your outgoing address most of the time.
- 5
File incoming alias mail automatically
Under Settings, Filter Rules (sometimes called POP3/Rules depending on your account's interface language), create a rule matching "To" or "Delivered-To" contains your alias address, then move or label matching mail into its own folder.
Alias vs. a new GMX account vs. Mail Collector#
These three solve different problems, and mixing them up is the most common mistake with GMX aliases.
| Option | What it is | Best for |
|---|---|---|
| Alias address | An extra address on your existing mailbox, same login, same inbox | Signups, one-off forms, separating a category of mail without extra logins |
| New GMX account | A fully separate mailbox with its own password and its own inbox | A real second identity — a side business, a shared family account, something you don't want mixed with your main inbox at all |
| Mail Collector | Pulls mail FROM another provider's account INTO your GMX inbox | Consolidating an old Yahoo or Outlook account into GMX — the opposite direction from an alias |
Alias and Mail Collector aren't the same feature
What to do when it doesn't work#
Most alias problems come down to one of three things: the username is taken, the alias isn't showing up as a sender option, or filed mail isn't actually filtering.
If the username you want is already registered — even on a different GMX domain than the one you're trying — GMX will reject it. Try a different domain suffix or add a distinguishing word to the username.
If a new alias doesn't appear in the sender drop-down right away, sign out and back in, or refresh the composer. It's occasionally a caching delay rather than a setup problem.
If mail sent to your alias isn't landing in the folder your filter rule expects, check that the rule matches the full alias address exactly, including the domain — a rule written against just the username half will silently never match.
A faster way to keep alias mail sorted#
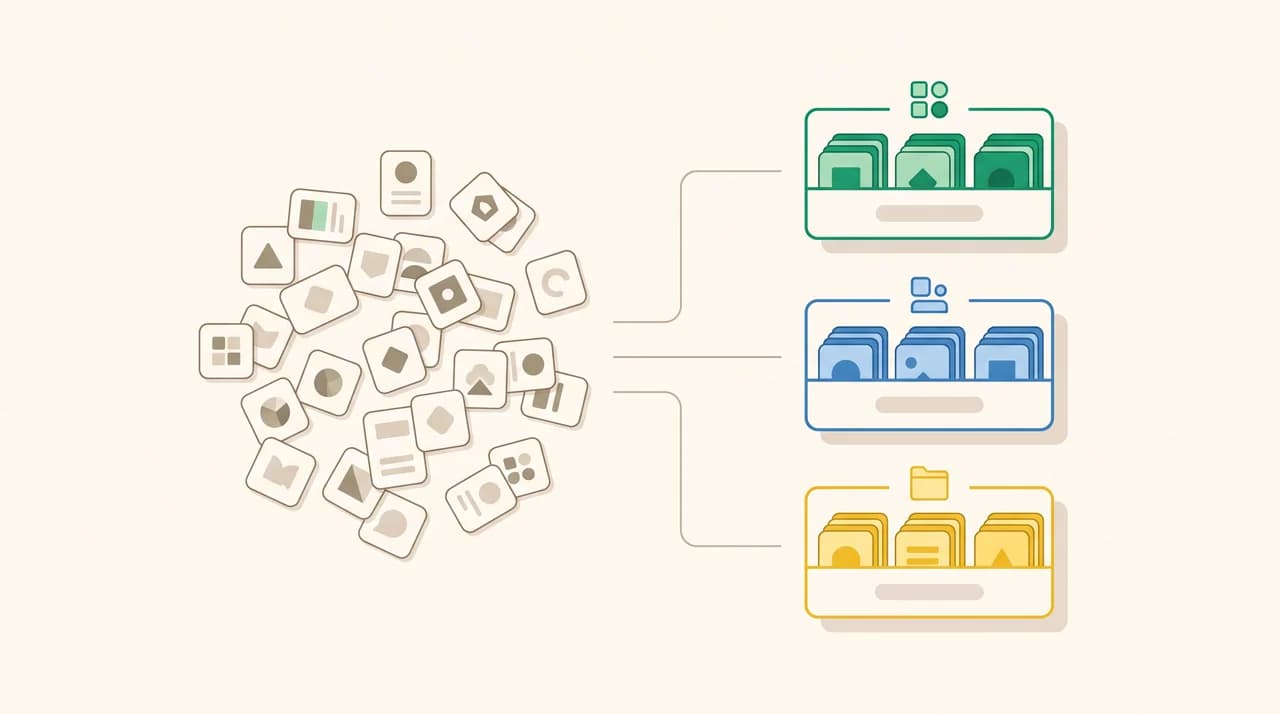
Filter rules matching an exact alias address work, but they're static — every new alias means writing another rule, and none of them adapt when a sender's pattern shifts or a signup starts using a slightly different reply-to. AI Emaily's Rules & Context Brain does the equivalent job continuously: it learns what kind of mail a given address or sender pattern actually is and keeps filing it correctly as your inbox changes, not just at the moment you wrote the rule.
It sits on top of Gmail, Outlook, or any IMAP account — including GMX — so your existing aliases and filters keep working underneath it. We build AI Emaily, and this is a case where continuous, adaptive filing genuinely does more than a one-time rule.
Frequently asked
See it in AI Emaily
Keep reading
Sources

Written by
Nafiul HasanNafiul Hasan is an entrepreneur and AI automation system builder with 10+ years of experience turning messy, manual workflows into reliable automated systems. He designs and ships AI enterprise solutions end-to-end — the agent logic, the data plumbing, and the product people actually use — and founded AI Emaily to give busy professionals their attention back. He writes here from the builder's seat: what works, what breaks, and how to put AI to work without giving up control.