How to Access iCloud Mail Without Your iPhone

The short answer
If you have lost the iPhone that receives your iCloud two-factor authentication codes, you have three options: receive the code on a trusted phone number, use an Apple Account recovery key if you set one up in advance, or request account recovery through Apple — a verified wait that can take several days.
How to get into iCloud Mail without your iPhone — trusted phone numbers, recovery keys, and account recovery explained clearly.
On this page
- 01The Short Answer
- 02Before You Start: What Two-Factor Authentication Actually Requires
- 03How to Sign In to iCloud Mail Without Your iPhone
- 04Where You Can Sign In: Borrowed Computer, Mac, and Windows
- 05What to Do When You Have No Trusted Number and No Recovery Key
- 06How to Prevent a Repeat Lockout
- 07A Faster Way to Manage Your iCloud Inbox
Losing the iPhone that delivers your Apple two-factor authentication code is one of the most direct paths to being locked out of iCloud Mail. The sign-in screen at icloud.com asks for a six-digit verification code, and there is no obvious alternative offered upfront. How to get into iCloud Mail without your iPhone depends on which backup you set up before the lockout: a trusted phone number registered to your Apple ID, an Apple Account recovery key generated in advance, or Apple's account recovery process as a last resort.
This page covers all three options in the order you should try them, explains why an app-specific password cannot substitute for a verification code at the sign-in screen, and shows how to add a second trusted phone number so this situation does not repeat. The section on account recovery covers what to expect and how long to prepare to wait.
The Short Answer#
Three methods can get you a verification code — or bypass the need for one — when your iPhone is unavailable. Which path is open depends entirely on what you set up before losing the device.
| Method | What you need | Time to access |
|---|---|---|
| Trusted phone number | A second phone number added to your Apple ID at appleid.apple.com | Immediate — Apple sends an SMS code to that number |
| Apple Account recovery key | A 28-character key you generated before the lockout | Immediate — enter the key in place of an SMS code |
| Account recovery | Nothing pre-configured — this is the last resort | Several days — Apple verifies your identity manually |
Before You Start: What Two-Factor Authentication Actually Requires#
A trusted phone number is a mobile number — any number, not just an iPhone — registered under your Apple ID. When you cannot approve a sign-in on a trusted device, Apple offers to send an SMS verification code to any trusted phone number on your account. If the only number registered is a landline that cannot receive SMS, or you added no number at all, this path is not available.
An Apple Account recovery key is a 28-character code Apple generates when you opt into enhanced account security at appleid.apple.com under Sign-In and Security. With a recovery key active, you can unlock your account without any device or phone number — you enter the key in place of a verification code. Apple does not store a copy. Losing both the key and every trusted device closes the immediate-access paths entirely and leaves only the multi-day account recovery process.
App-specific passwords do not bypass the sign-in form
How to Sign In to iCloud Mail Without Your iPhone#
- 1
Open icloud.com on any browser
Navigate to icloud.com on any computer — a borrowed Mac, a Windows machine, or any browser-capable device. Enter your Apple ID email address and your Apple ID password as normal.
- 2
When the code prompt appears, choose an alternative delivery method
After entering your password, Apple shows a screen requesting a six-digit verification code. Below the code entry field is a link — depending on the sign-in surface version, it may read 'Didn't get a code?', 'More options', or something similar. Select it to see the alternatives.
- 3
Send an SMS code to a trusted phone number
Apple lists the trusted phone numbers on your account, showing the last two digits of each. Select a number that can receive SMS right now. Apple sends a six-digit code by text message. Enter that code to continue.
- 4
Or enter your recovery key instead of a code
If you set up an Apple Account recovery key, choose 'Use recovery key' on the same screen. Enter the 28-character key exactly as written. Apple matches it against the key generated when you enabled enhanced security. A correct recovery key completes authentication without an SMS code.
- 5
Complete sign-in and decide whether to trust the browser
After entering the code or the recovery key, Apple asks whether to trust the browser. Select Trust only on a personal device you control — not on a borrowed or shared computer. Trusting the browser registers it as a trusted device and reduces sign-in friction on future visits from that machine.
- 6
Sign out fully when done on a borrowed computer
Once signed in, access iCloud Mail from the icloud.com home screen. When finished on a borrowed machine, select your name or Apple ID at the top right of icloud.com and choose Sign Out. If you accidentally marked a shared browser as trusted, remove it at appleid.apple.com under Devices.
Where You Can Sign In: Borrowed Computer, Mac, and Windows#
The two-factor verification process is the same regardless of which operating system or browser you use to reach icloud.com. What differs is how Mac system-level sign-in and Windows iCloud for Windows behave after you authenticate.
Signing in to icloud.com in a browser gives you full access to iCloud Mail without installing anything. This works on any computer — a colleague's Windows laptop, a library Mac, or a Chromebook — and requires no software beyond the browser.
| Sign-in surface | Verification method | What to expect |
|---|---|---|
| icloud.com — any browser | Apple ID + SMS code or recovery key | Full iCloud Mail in the browser; no local setup required |
| Mac — System Settings, Apple ID | Apple ID + trusted number or recovery key | Adds iCloud Mail to Apple Mail automatically after sign-in completes |
| Windows — iCloud for Windows | Apple ID + 2FA code, then app-specific password for the mail sync | App-specific password required separately after sign-in for the IMAP connection |
| Replacement iPhone or iPad | Apple ID + 2FA code | Restores account fully; the replacement device becomes a new trusted device |
| Third-party apps (any platform) | App-specific password — generated only after a successful sign-in | Authenticates the IMAP connection; cannot substitute for the initial sign-in |
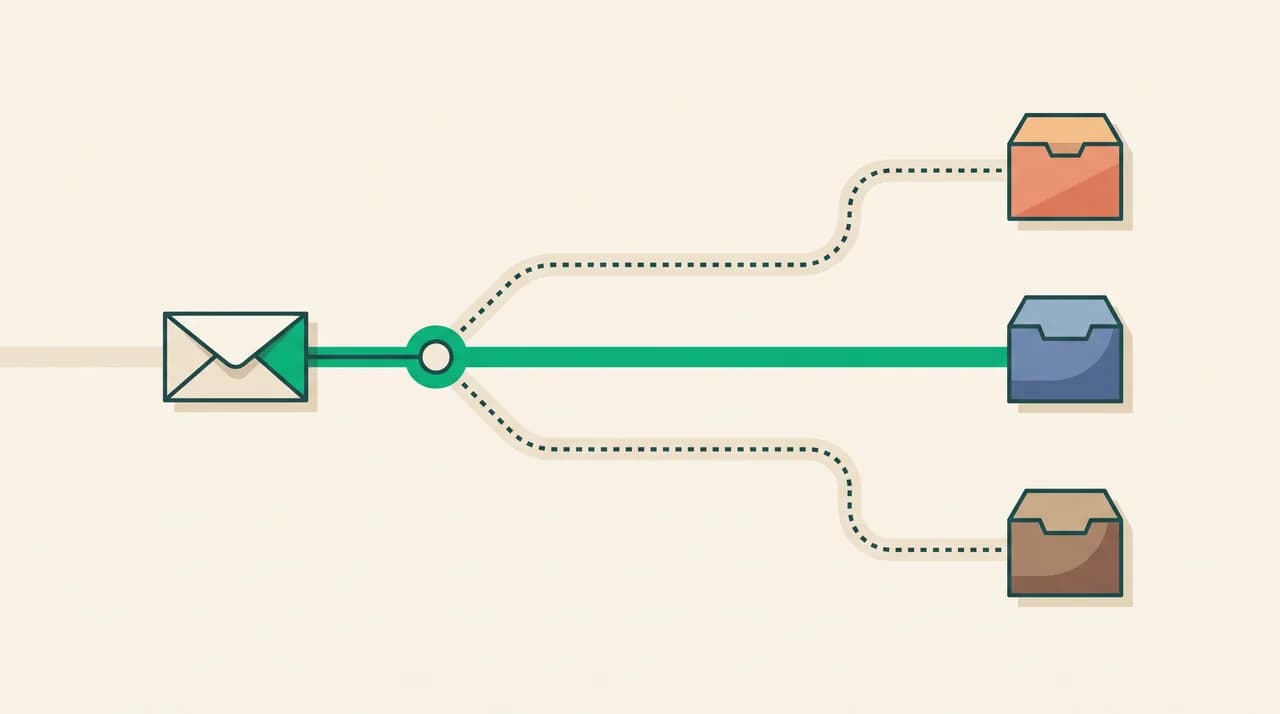
The three methods above — trusted phone number, recovery key, and account recovery — are distinct forks. Which one is open depends entirely on what you configured before losing the device.
What to Do When You Have No Trusted Number and No Recovery Key#
If none of the phone numbers registered to your Apple ID can receive SMS right now, and you did not set up a recovery key, the only remaining option is Apple account recovery. Start it at iforgot.apple.com by entering your Apple ID. Apple will guide you through an identity verification process using signals associated with your account — payment methods on file, other devices that were previously trusted, or a recovery contact if you designated one.
Once you submit a recovery request, Apple sends an estimated wait time. The delay is several days at minimum and is intentional: it prevents an attacker who has your phone from racing to lock you out permanently before you can act. Apple notifies you by email when the wait period ends and your account is unlocked.
- Go to iforgot.apple.com and enter your Apple ID email address.
- Complete the identity verification steps Apple presents — these vary based on account history and what Apple can verify.
- Wait for the notification email confirming your account is unlocked.
- After regaining access, add a second trusted phone number and generate a recovery key immediately to prevent a repeat.
Account recovery takes several days and cannot be expedited online
How to Prevent a Repeat Lockout#
The fastest fix after regaining access is also the permanent one: add a second trusted phone number at appleid.apple.com before you lose the primary device again. Go to Sign-In and Security and select Trusted Phone Numbers. Any mobile number that can receive SMS works — a second personal phone, a partner's number, or a work mobile. A number that can only receive voice calls will receive a spoken code rather than SMS, which is less convenient but still functional.
For the highest level of advance protection, generate an Apple Account recovery key at the same location under Sign-In and Security. Store it offline — printed on paper and kept in a physically secure place you can reach independently of your Apple devices. A recovery key gives immediate access even when no trusted devices or phone numbers are reachable.
A Faster Way to Manage Your iCloud Inbox#
Once you have signed back in, the practical problem for many people is what comes next: a backlog of messages that accumulated during the lockout, each needing a priority call and often a reply. AI Emaily connects to iCloud Mail over the standard IMAP path and handles the server configuration during onboarding.
On top of the connection it adds a triage layer: incoming threads are categorized and surfaced by urgency, replies are drafted in a voice you define through a user-set Context brain and per-client profiles, and nothing sends without your explicit approval when running in Copilot mode. Gmail and Outlook accounts connect alongside iCloud into a single unified inbox. A 7-day free trial is available with no long-term commitment required before day seven. We build AI Emaily.
Frequently asked
See it in AI Emaily
Keep reading
Sources

Written by
Nafiul HasanNafiul Hasan is an entrepreneur and AI automation system builder with 10+ years of experience turning messy, manual workflows into reliable automated systems. He designs and ships AI enterprise solutions end-to-end — the agent logic, the data plumbing, and the product people actually use — and founded AI Emaily to give busy professionals their attention back. He writes here from the builder's seat: what works, what breaks, and how to put AI to work without giving up control.