How to Train the Junk Mail Filter in Apple Mail on Mac

The short answer
Apple Mail's junk filter uses a Bayesian algorithm that learns when you mark messages as Junk or Not Junk. For persistent mistakes, reset the training database in Mail Settings. One catch: iCloud, Gmail, and Microsoft filters run on the server before Apple Mail ever sees the message — so identify which filter actually caught it first.
How to train, reset, and troubleshoot Apple Mail's junk filter on Mac — plus how to identify whether server-side filters ran before it.
On this page
- 01Before you start: understand the difference between Apple Mail junk and server junk
- 02How to train the junk filter in Apple Mail, step by step
- 03Platform differences: junk filtering across macOS, iOS, iCloud, and third-party providers
- 04What to do when the Apple Mail junk filter is not catching spam
- 05A faster way to handle junk across all your accounts
If you have been marking the same newsletter as junk every week — or watching a supplier's invoice land in your Junk mailbox for the third time — you are dealing with a training problem, not a broken filter. The Apple Mail junk filter is a learning system, and what it does next depends entirely on the corrections you feed it.
But there is one thing to settle before you spend an afternoon clicking Mark as Junk: which filter is actually responsible for flagging that message? Apple Mail runs its own local junk filter on your Mac, but iCloud, Gmail, and Microsoft Exchange all run separate server-side spam filters before any mail reaches your Mac at all. Those two layers are independent, trained differently, and behave differently. Fixing the wrong one changes nothing. This guide sorts that out first, then walks through every training, adjustment, and reset option for Apple Mail's local filter — step by step, with notes on which macOS version each step applies to.
Before you start: understand the difference between Apple Mail junk and server junk#
When a message lands in your Junk mailbox in Apple Mail, one of two completely different systems put it there. The first is Apple Mail's own local junk filter, a Bayesian algorithm that runs on your Mac after the message has been downloaded. This is the filter you train by marking mail. The second is your email provider's server-side spam filter, which evaluated the message before it left the mail server — before it arrived on your Mac, before Apple Mail even saw it.
You can identify which filter acted on a message by looking at the Junk mailbox in the Apple Mail sidebar. If the Junk folder is nested directly under your account — labelled with your iCloud address, your Gmail address, or your work domain — the message was quarantined by the provider's server filter. Apple Mail's local filter played no part. If the Junk folder appears under On My Mac, the local Bayesian filter moved it there.
This distinction matters because the fix lives in completely different places. Marking a message as Not Junk in Apple Mail trains the local filter; it has no effect on iCloud's server filter, Gmail's spam filter, or Microsoft's Exchange junk filter. Conversely, marking a message as Not Spam in Gmail web does not retrain the Apple Mail filter on your Mac. You need to know which layer caught the message before you can correct it. Everything else in this guide assumes you have identified that the Apple Mail local filter is the one you are working with.
How to identify which filter caught the message
How to train the junk filter in Apple Mail, step by step#
Apple Mail's local junk filter uses a Bayesian algorithm. It calculates the probability that a message is junk based on every word, sender domain, and header pattern it has encountered before, then adjusts those probabilities every time you correct it. The training comes from your corrections — mark enough real junk and enough legitimate mail, consistently, and accuracy improves. Ignore the corrections, and it drifts. The steps below apply to macOS Ventura, Sonoma, and Sequoia (macOS 13, 14, and 15). On macOS Monterey and earlier, the settings window opens at Mail > Preferences > Junk Mail rather than Mail > Settings > Junk Mail — every other detail is identical.
- 1
Open the Junk Mail settings and enable filtering
In Apple Mail, go to Mail > Settings (macOS Ventura and later) or Mail > Preferences (macOS Monterey and earlier). Click the Junk Mail tab. Confirm that Enable junk mail filtering is checked. If the checkbox is off, Apple Mail is doing no filtering at all — turn it on before you try anything else.
- 2
Set the handling mode to train safely
Under When junk mail arrives, choose Mark as junk mail, but leave it in my Inbox. This is the right setting for the first one to two weeks of training. The filter flags suspected junk with a brown banner but leaves the message in your inbox, so you can spot mistakes without hunting through a separate folder to recover them.
- 3
Mark every missed spam message as Junk
When a junk message slips through to your inbox, select it and press Command-Shift-J, or go to Message > Mark > As Junk Mail. Do this every time, for every piece of junk you catch. Each correction teaches the filter the signals — sender address, domain, subject phrasing, body vocabulary — associated with unwanted mail. Consistency matters more than volume.
- 4
Mark every false positive as Not Junk
When a legitimate message ends up flagged as junk (brown banner or moved to the Junk folder), select it and click Not Junk in the banner at the top of the message pane, or press Command-Shift-J to toggle it back. False-positive corrections are at least as important as marking real junk. The filter calibrates on both signals together. A filter that only ever sees you confirm junk — but never sees corrections on legitimate mail — will skew toward over-flagging.
- 5
Switch to automatic handling once accuracy improves
After one to two weeks of consistent corrections, revisit Mail > Settings > Junk Mail. If false positives are now rare, change the handling to Move to the Junk mailbox. Apple Mail will now quarantine suspected junk without a banner prompt. If you want junk cleared more aggressively, choose Perform custom actions, click Advanced, and build a rule that deletes or trashes matching messages — but note that going straight to Trash makes recovery harder if the filter still occasionally misfires.
- 6
Add trusted sender exemptions
On the Junk Mail settings pane, three checkboxes let you exempt categories of senders from the filter: Sender of message is in my Contacts, Sender of message is in my previous recipients, and Message is addressed using my full name. Enable the ones that match your workflow. Contacts is the most reliable; Previous recipients is broad and occasionally lets through lookalike addresses; the full-name check is simple and low-risk. These exemptions reduce false positives from people you already correspond with, without you having to individually retrain for each contact.
Platform differences: junk filtering across macOS, iOS, iCloud, and third-party providers#
The training steps above apply specifically to the Apple Mail app on Mac. The behavior is meaningfully different on iPhone and iPad, on iCloud.com, and across the provider accounts you connect to Apple Mail. Understanding which layer handles filtering for each combination saves you from training the wrong system — or from being confused about why corrections in one place have no visible effect in another.
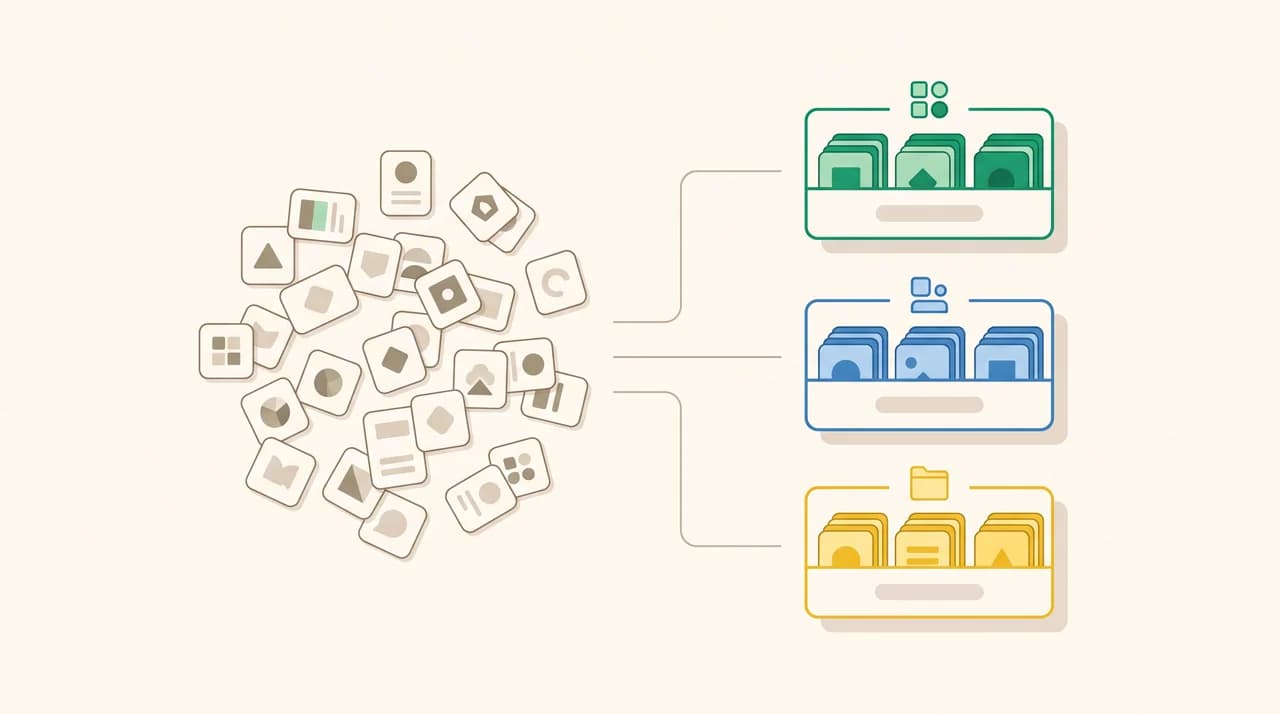
The table below covers the main combinations. The key column to read is Can you train it? — because that tells you whether your marking actions actually do anything, or whether the filtering is happening at a layer you do not directly control.
| Platform / account | Filter type | Can you train it? | Key notes |
|---|---|---|---|
| Apple Mail on Mac (local filter) | Bayesian — runs on your Mac | Yes — mark as Junk / Not Junk in the Mac app | Training lives in a local database. Resets if you delete it. macOS Ventura/Sonoma/Sequoia: Mail > Settings > Junk Mail. |
| Mail on iPhone / iPad | No local learning filter on iOS | Partially — marking as Junk on an iCloud account passes feedback to iCloud's server filter | iOS Mail has no on-device Bayesian training database. Server-side filtering from your provider does the work. |
| iCloud server filter | Server-side, managed by Apple | Indirectly — via Junk/Not Junk actions in Mail or at iCloud.com | Runs before any message reaches Apple Mail. Configure at iCloud.com > Settings > Security. Independent of the Mac local filter. |
| Gmail (Google) server filter | Google's spam filter | Yes — via Mark as spam / Not spam in Gmail web or any connected client | Entirely independent of Apple Mail's local filter. Corrections in Gmail web do not retrain Apple Mail, and vice versa. |
| Microsoft Exchange / Outlook server | Exchange server junk filter | Yes — through Outlook web or Outlook app, or IT admin policy | Runs before Apple Mail receives the message. The local Apple Mail filter sees what the server passes through. |
| IMAP account (no provider spam filter) | Apple Mail local filter only | Yes — same steps as the Mac training workflow above | All filtering is done locally by Apple Mail. Most small-domain hosted email falls into this category. |
What to do when the Apple Mail junk filter is not catching spam#
If spam keeps arriving in your inbox despite consistent training, one of four things is happening. Work through them in order, because misdiagnosing the cause leads to the wrong fix.
First, confirm the messages are actually going through the local filter. The most common reason junk-filter training seems to have no effect is that the messages are being caught by the provider's server filter and appearing in a provider-labelled Junk folder — which means Apple Mail's local filter never evaluated them, and your marking actions were correcting the wrong database. Go back to the sidebar check: if the Junk folder is under your account name rather than under On My Mac, you are training the wrong layer.
Second, the training database may have drifted. This happens after years of use, particularly if the messages you receive have changed character — new senders, different body patterns, different domains. When the Bayesian model has seen enough contradictory signals, it loses precision. The fix is to reset the database and start fresh. On macOS Ventura and later, go to Mail > Settings > Junk Mail and look for a Reset button on the pane. If there is no Reset button on your macOS version, quit Mail, navigate to the folder at ~/Library/Mail/V10/MailData/ (the version number in the path varies by macOS release), find the files whose names begin with BayesianJunk and JunkMailFilter, and delete them. Restart Mail. The filter now begins from a blank slate, and you will need to retrain it over the following week or two.
Third, your trusted-sender exemptions may be too broad. If you have enabled Previous recipients, any sender you have ever replied to — including mailing lists you unsubscribed from, vendors you bought from once, or bulk senders that rotate reply-to addresses — is permanently exempted from the filter. A targeted spammer can exploit this. Consider unchecking Previous recipients and relying on Contacts alone for the exemption, which is a much tighter list.
Fourth, a mail rule may be intercepting messages before the junk filter runs. In Apple Mail, rules apply before junk filtering. A rule that marks messages as Read, moves them, or sets a flag can prevent the junk filter from evaluating them at all. Open Mail > Settings > Rules and look for rules that match the senders or content patterns in the messages that are slipping through. Disable them temporarily to confirm whether a rule is the cause.
Retrain faster after a reset
A faster way to handle junk across all your accounts#
Apple Mail's junk filter works well for a single macOS account, but it has limits that become obvious once you use more than one inbox. The local Bayesian model runs only on your Mac, only when Apple Mail is open, and is trained separately for each account. If you have a personal iCloud address, a work Gmail, and a side-project Fastmail account connected to Apple Mail, you are maintaining three independent training passes with no shared learning between them.
We build AI Emaily, an AI-native email client that connects Gmail, Outlook, iCloud, Fastmail, and any IMAP account into a single inbox. AI Emaily handles spam and cold-email detection across all connected accounts using AI-based signal analysis rather than a Bayesian model you retrain by hand. It identifies junk by sender behavior and message patterns — without a weekly correction session — and applies the same logic across every account in your inbox, not account by account. If the ongoing overhead of manual junk training is the thing you want to eliminate, that is the specific gap it closes. You can start a 7-day free trial at aiemaily.com.
Frequently asked
See it in AI Emaily
Keep reading

Written by
Nafiul HasanNafiul Hasan is an entrepreneur and AI automation system builder with 10+ years of experience turning messy, manual workflows into reliable automated systems. He designs and ships AI enterprise solutions end-to-end — the agent logic, the data plumbing, and the product people actually use — and founded AI Emaily to give busy professionals their attention back. He writes here from the builder's seat: what works, what breaks, and how to put AI to work without giving up control.