How to Stop iCloud Marking Good Email as Junk

The short answer
iCloud Mail filters spam on Apple's servers before your device sees the message. To rescue a sender: mark their message as Not Junk at icloud.com, add them to Contacts, or create a server-side rule that delivers their mail to your inbox before the spam filter runs. All three changes persist across iPhone, iPad, and Mac.
How to stop iCloud marking emails as junk — whitelist senders, create rules at icloud.com, and fix persistent false positives across iPhone, iPad, and Mac.
On this page
If you want to stop iCloud marking emails as junk, the first thing to understand is that iCloud does not filter mail on your iPhone or Mac — it filters it on Apple's servers, before the message reaches any device. That distinction changes where the fix lives and why clicking Not Junk on your phone sometimes has no lasting effect.
iCloud's server-side spam filter evaluates every message as it arrives at your @icloud.com address. A message it considers junk is moved to your Junk folder on the server, and that classification appears on every device syncing your account. Correcting it requires sending a signal back to the server layer — through icloud.com, through your Contacts, or through a server-side rule. This guide covers each method in order of reliability, explains the platform differences across Mac, iPhone, and iPad, and describes what to do when the same sender keeps triggering the filter.
Before you start: iCloud's spam filter runs on Apple's servers, not on your device#
iCloud Mail uses a server-side spam filter managed by Apple. It evaluates incoming messages at your @icloud.com address and moves messages it considers junk to the Junk folder before any device downloads them. Because filtering happens at the server, the Junk folder you see in Apple Mail on Mac, in Mail on iPhone, and at icloud.com all reflect the same server state — a message moved to Junk on the server appears in Junk everywhere.
This matters because Apple Mail on Mac has its own separate, local junk filter — a Bayesian algorithm stored in a database on your computer. The two filters are independent: marking a message Not Junk in Apple Mail's local filter corrects the local database but has no effect on iCloud's server filter. If the same sender keeps landing in Junk despite local corrections, the server filter is the one to address.
The control point for iCloud's server filter is icloud.com — specifically the Mail settings and the Contacts stored in your Apple ID. There is no setting on iPhone or Mac that directly adjusts the server filter's sensitivity or lets you add exceptions. The indirect signals are marking messages at icloud.com, adding senders to your iCloud Contacts, and creating server-side rules.
Which filter caught the message?
How to stop iCloud marking emails as junk#
- 1
Mark as Not Junk at icloud.com
Sign in to icloud.com, open Mail, and locate the message in your Junk folder. Select it and click the Not Junk button in the toolbar, or right-click the message and choose Move to Inbox. This sends a correction signal directly to iCloud's server filter and moves the message to your inbox. For occasional false positives from a sender whose messages vary in content, this is the right approach — you are correcting the server's classification of a specific message.
- 2
Add the sender to your iCloud Contacts
Adding a sender to your iCloud Contacts is the most reliable long-term whitelist option. iCloud's server filter checks whether a sender's address matches a contact in your Apple ID account before spam scoring, and messages from known contacts are treated as trusted. Open the message at icloud.com, click the sender's address, and choose Add to Contacts. The key detail: the contact must sync to your iCloud account rather than being saved only to a local Mac or device address book — the server filter reads your iCloud Contacts, not a device-local list.
- 3
Mark as Not Junk from Mail on iPhone or iPad
Open the Mail app on your iPhone or iPad and go to your iCloud Junk folder. Tap the message, then tap the folder icon in the toolbar and choose Inbox, or swipe on the message and use the More menu to select Not Junk. For iCloud accounts, this action sends feedback to iCloud's server filter and is not the same as training a local filter on the device. Note that for Gmail or Outlook accounts connected to Apple's Mail app, the same action sends a signal to that provider's filter rather than to iCloud's.
- 4
Create a server-side rule at icloud.com to deliver to Inbox first
A rule is the strongest protection for a sender the filter keeps misclassifying. At icloud.com, open Mail, click the gear icon at the bottom of the left sidebar, choose Settings, and go to the Rules tab. Click Add a Rule. Set the condition to From contains and enter the sender's address or domain. Set the action to Move to Folder and select Inbox. Click Done and wait up to 15 minutes for the rule to activate on Apple's servers. Because iCloud rules run before the spam filter evaluates the message, the rule delivers the message to your Inbox before the filter can reclassify it as junk. For newsletter senders that rotate addresses within a single sending domain, use @domain.com in the From field rather than a single address — this matches any address at that domain and is not defeated by address rotation.
Platform differences: what each action actually does#
The same action on different devices or surfaces reaches different filter layers. The table below maps each corrective action to what it actually changes on the server, so you can choose the right approach rather than cycling through all of them and not knowing which one worked.
| Action | Where you do it | Affects iCloud server filter | Notes |
|---|---|---|---|
| Mark as Not Junk | icloud.com web interface | Yes — direct correction signal to the server filter | Most reliable correction for a specific message. Reaches the server filter immediately without a device intermediary. |
| Add sender to Contacts | Any device or icloud.com — must sync to iCloud | Yes — Contacts are checked server-side before spam scoring | Durable whitelist. Contact must be saved to your iCloud account, not stored only in a local Mac or device address book. |
| Mark as Not Junk on iPhone or iPad (iCloud accounts) | Mail app on iPhone or iPad | Yes — sends feedback to iCloud's server for @icloud.com accounts | Applies only to iCloud accounts. For Gmail or Outlook accounts connected to Mail, the signal goes to that provider's filter instead. |
| Create a rule at icloud.com (Move to Inbox) | icloud.com in any browser | Yes — rule fires before the spam filter evaluates the message | Strongest protection. Prevents misclassification entirely rather than correcting it after the fact. |
| Mark as Not Junk in Apple Mail on Mac (local filter) | Apple Mail app on Mac | No — corrects the local Bayesian filter only | No effect on iCloud's server filter. Use this when the message is in On My Mac Junk, not in the account-labelled Junk folder. |
What to do when the same sender keeps landing in junk#
If you have marked a sender as Not Junk, added them to Contacts, and the same address still triggers the filter, one of three things is usually happening.
The sender's address is rotating. Marketing and newsletter platforms often send from different addresses within the same domain — [email protected] one week, [email protected] the next. Adding a single address to Contacts only exempts that address. Create a rule instead: set the condition to From contains @mail.example.com, and the action to Move to Folder — Inbox. This matches any address at the domain and is not defeated by rotation.
The sender's List-ID header triggers the filter. Newsletter and marketing platforms include a List-ID header that iCloud's filter uses to identify bulk mail. At icloud.com, create a rule with the condition set to List-ID contains and paste in the value from the message header — right-click the message and choose View Source or Show All Headers to find it. This is more precise than a domain-level From rule and matches the list regardless of the sending address.
The message content itself scores high for spam. If a message contains patterns the filter consistently associates with junk — high link density, unfamiliar sending infrastructure — a From contains @domain.com rule that delivers to Inbox before spam scoring is your best option. If messages still land in Junk despite a well-formed rule, the sending platform's domain may have a poor reputation, and the sender's provider is the right place to report the problem.
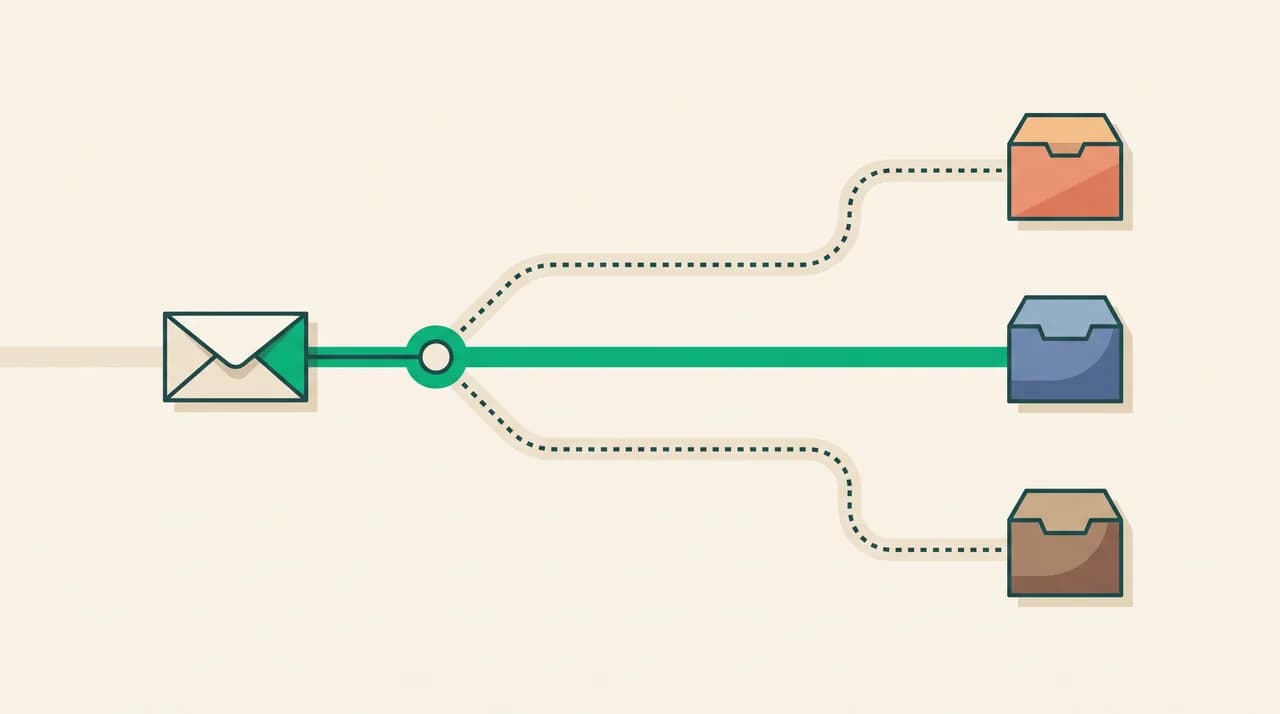
Rules run before spam scoring — use that to your advantage
A faster way to keep your inbox clean across all accounts#
iCloud's server-side rules handle your @icloud.com address well, but the work stops at the provider boundary. If your inbox also includes Gmail, Outlook, or a work account, you are managing separate rule sets in separate interfaces — and the same sender can still land in junk in one account after you have fixed it in another.
We build AI Emaily, an AI-native email client that connects iCloud, Gmail, Outlook, and any IMAP account in a unified inbox. AI Emaily's spam and cold-email detection works across all connected accounts using sender-behavior and signal analysis rather than per-address rules you maintain by hand. When a sender's domain or sending infrastructure changes, the filter adapts without requiring you to update a separate rule list in each provider interface. You can start a 7-day free trial at aiemaily.com.
Frequently asked
See it in AI Emaily
Keep reading

Written by
Nafiul HasanNafiul Hasan is an entrepreneur and AI automation system builder with 10+ years of experience turning messy, manual workflows into reliable automated systems. He designs and ships AI enterprise solutions end-to-end — the agent logic, the data plumbing, and the product people actually use — and founded AI Emaily to give busy professionals their attention back. He writes here from the builder's seat: what works, what breaks, and how to put AI to work without giving up control.