How to Stop Unwanted Emails in iCloud Mail

The short answer
To stop unwanted emails in iCloud Mail, block senders at icloud.com, create server-side rules that run before any device wakes up, use Report Junk to train Apple's filters, and add Hide My Email aliases to keep your real address private. Every control in this guide runs on Apple's servers, not on any single device.
Stop unwanted emails in iCloud Mail by blocking senders, creating server-side rules, and using Hide My Email — all controlled at icloud.com.
On this page
- 01Before you start
- 02How to block a sender in iCloud Mail
- 03How to create a server-side rule in iCloud Mail
- 04What Report Junk actually does
- 05Use Hide My Email to stop spam before it starts
- 06Which controls are server-side and which are not
- 07When filters still let mail through
- 08A faster way: continuous filtering with AI Emaily
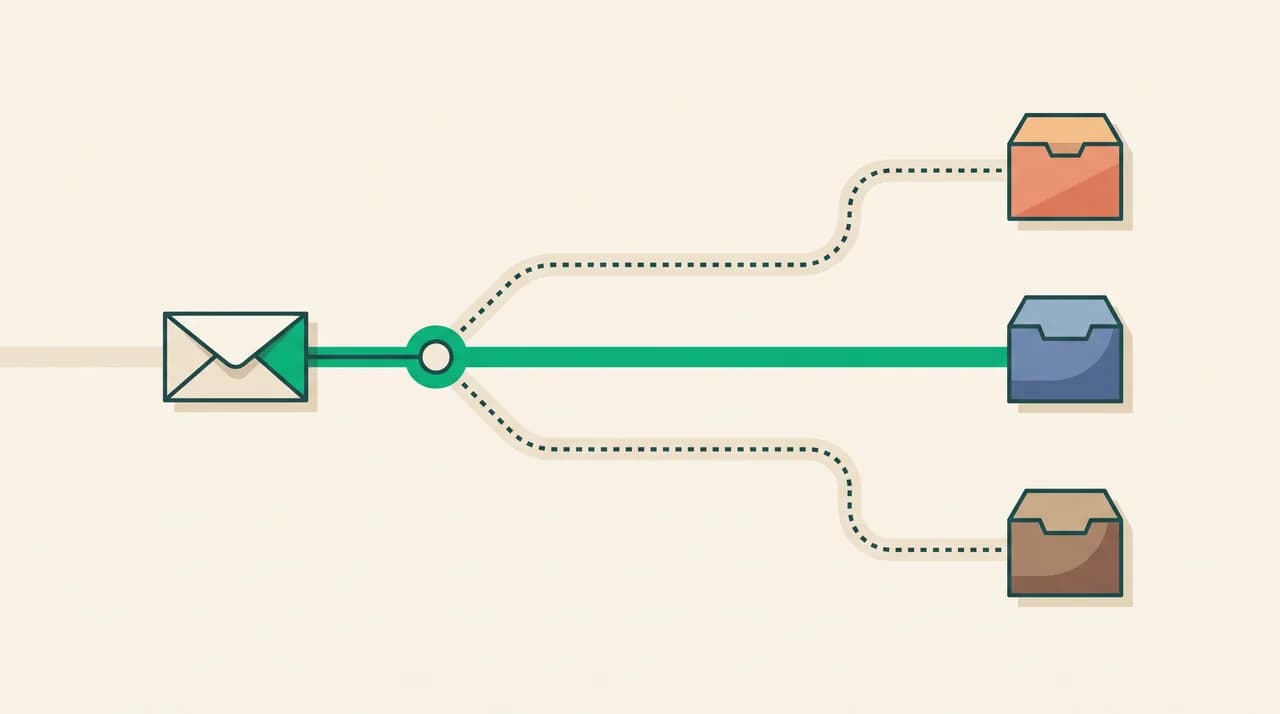
The most reliable way to stop unwanted emails in iCloud Mail is not in the Mail app on your phone or computer — it is at icloud.com. Controls you set there run on Apple's servers before any device downloads a message. That means they apply everywhere at once: iPhone, Mac, iPad, or any web browser, even when every device you own is powered off.
Device-level rules in Apple Mail on a Mac only run while that Mac and that app are open. Server-side rules at icloud.com have no such dependency. This guide covers the four controls that stop mail at the server: blocking a sender, creating server-side rules, using Report Junk, and using Hide My Email. If you have an @icloud.com address, the first three are free. Hide My Email requires an iCloud+ subscription.
Before you start#
You will need an Apple ID with iCloud Mail enabled, meaning you have an @icloud.com address. If your Apple ID only has a third-party address (such as Gmail or Outlook) linked to it, the iCloud Mail controls in this guide do not apply to that address.
All server-side controls are managed at icloud.com in a web browser. Sign in, click Mail, and then click the gear icon at the bottom left of the sidebar to reach Mail Settings. These settings are separate from the iOS Settings app and from Apple Mail's preferences on macOS — changes made there are local, not server-side.
How to block a sender in iCloud Mail#
Adding an address to the Blocked list in iCloud Mail settings routes that sender's mail directly to Trash. The block runs on Apple's servers, so it takes effect whether you read your mail on an iPhone, a Mac, or in any web browser.
- 1
Open Mail at icloud.com
Sign in to icloud.com and click the Mail icon.
- 2
Open Settings
Click the gear icon at the bottom left of the sidebar and select Settings from the menu.
- 3
Go to Blocked
Select the Blocked tab in the Settings panel.
- 4
Add the address
Click the plus button, type the full email address you want to block, and press Return.
- 5
Save
Click Done. The block takes effect immediately on Apple's servers.
Addresses only, not domains
How to create a server-side rule in iCloud Mail#
Rules in iCloud Mail match incoming messages on one condition — From, To or CC, or Subject — then apply an action such as moving the message to a folder, marking it as read, or deleting it. The conditions are limited compared to a dedicated mail client, but the key advantage is where they run: on Apple's servers, before your devices see the message.
A single well-written rule can catch an entire wave of unwanted mail from one sender domain. Setting the From condition to contain @newsletter.example.com, for instance, catches any address on that domain rather than a single rotating address.
- 1
Open Rules in iCloud Mail Settings
At icloud.com, open Mail, click the gear icon, and select Settings. Choose the Rules tab.
- 2
Add a Rule
Click Add a Rule.
- 3
Set the condition
Choose From, To or CC, or Subject from the dropdown. For domain-level filtering, choose From and type @domain.com — this matches any address at that domain without requiring you to know the full sending address.
- 4
Choose an action
Move to Trash removes the message immediately. Move to a folder (such as a Bulk review folder) lets you confirm the rule is working before you commit to deleting. Mark as Read silences the unread badge while leaving the message visible.
- 5
Save and test
Click Done. To verify, find an existing message that should match the rule and confirm it would have been caught — or send yourself a test message that matches the condition.
What Report Junk actually does#
Selecting Report Junk in iCloud Mail — available in the icloud.com web interface and in Apple Mail on any device — does two things: it moves the message to your Junk folder, and it sends a copy to Apple's spam team. Apple uses the aggregate signal from all Report Junk actions across iCloud Mail accounts to improve its shared filtering layer.
Report Junk is not a block. The same sending address can reach you again, and a new address from the same organisation bypasses any learning immediately. It is a feedback mechanism that benefits the shared filter over time, not a tool for stopping a specific sender now. For a hard stop on a specific sender, use Blocked Senders or a rule. For persistent junk that keeps arriving from varied addresses, report consistently over several weeks alongside your rules.
Use Hide My Email to stop spam before it starts#
Hide My Email generates a random @icloud.com alias that forwards to your real address. Give the alias to a website, newsletter, or service when you sign up. If that alias later attracts unwanted mail, deactivate it — all mail to that address stops immediately, and your real @icloud.com address is never exposed to the sender.
To create an alias on iPhone or iPad, go to Settings, tap your name, then iCloud, then Hide My Email, and tap Create New Address. On a Mac, go to System Settings, click your Apple ID, select iCloud, and click Hide My Email. Apple generates a random alias; add a label describing where you plan to use it. Deactivate any alias at any time from the same screen to stop all mail to it.
iCloud+ required
Which controls are server-side and which are not#
The table below shows where each control lives and whether it runs on Apple's servers. Server-side controls catch mail before any of your devices download it. Device-side controls only run when a specific app is open on a specific machine — close the app or shut down the device and mail passes through unfiltered until the app reopens.
| Control | Where to configure | Runs on Apple's servers | iCloud+ required |
|---|---|---|---|
| Blocked Senders | icloud.com Mail Settings > Blocked | Yes | No |
| Server-side Rules | icloud.com Mail Settings > Rules | Yes | No |
| Hide My Email | Settings app > iCloud > Hide My Email | Yes | Yes |
| Report Junk | Any Apple Mail client or icloud.com | Contributes to shared learning | No |
| Rules in Apple Mail (macOS) | Apple Mail > Rules menu | No — Mac and app must be open | No |
| Junk detection on iPhone | Automatic, device-level | Partial — uses iCloud signals | No |
When filters still let mail through#
Three situations account for most of the cases where iCloud Mail blocking stops holding.
- The sender is rotating addresses. Bulk mailers and spam operations often use a new From address for every campaign while staying on the same sending domain. Blocking [email protected] does nothing when the next message arrives from [email protected]. The fix is a server-side rule with the condition set to From contains @deals.example.com, or a rule matching a recurring phrase in the Subject line that the sender always uses.
- You have hit the rule limit. Apple's documentation describes a maximum number of rules per iCloud Mail account. The exact ceiling was not confirmed from a live Apple support page at time of writing — third-party sources suggest a range of 50 to 99 — but if new rules appear to stop applying, audit your list and remove stale rules for senders you no longer receive mail from.
- The visible From address does not match the actual sender. Some mailing lists route through a third-party email service provider, so the branded name in the message does not match the actual sending address. Open the full message header to find the real From address before writing a rule. In icloud.com, click the More button on a message to access header details.
A faster way: continuous filtering with AI Emaily#
The controls in this guide work, and they cost nothing beyond an iCloud account. The overhead is the round trip: each new pattern requires opening icloud.com, navigating to Settings, building a rule, and testing it. A sender that arrives from many address variations needs a rule written carefully enough to cover all of them without catching mail you actually want.
AI Emaily takes a different approach. Rather than matching individual addresses, it identifies the behaviour signature of cold mail and unsolicited bulk sends — sending domain, message structure, absence of any prior exchange with you — and applies that pattern continuously across every mailbox you connect, including iCloud, Gmail, and Outlook. The Context Brain lets you describe filtering preferences in plain language rather than writing address-by-address rules. When a new bulk sender appears, the pattern catches it; you do not need to update a list.
We build AI Emaily. If your inbox spans more than one provider, you can connect all of them and manage filtering from one place.
Frequently asked
See it in AI Emaily
Keep reading
Sources

Written by
Nafiul HasanNafiul Hasan is an entrepreneur and AI automation system builder with 10+ years of experience turning messy, manual workflows into reliable automated systems. He designs and ships AI enterprise solutions end-to-end — the agent logic, the data plumbing, and the product people actually use — and founded AI Emaily to give busy professionals their attention back. He writes here from the builder's seat: what works, what breaks, and how to put AI to work without giving up control.