How to Stop Junk Email in the Outlook App on iPhone and Android

The short answer
Yes — you can block senders and report junk from inside the Outlook mobile app on iPhone and Android. Tap the three-dot menu on any email, choose Report Junk, then Block Sender. But you cannot view your blocked senders list or create inbox rules in the app itself; both need a browser.
How to stop junk email in the Outlook mobile app on iPhone and Android — block senders, report junk, and fix the Focused Inbox confusion.
On this page
The Outlook mobile app gives you quick access to the most common junk-mail actions, but it exposes far fewer controls than Outlook on the web. From your phone you can block a sender, report a message as junk or phishing, and toggle the Focused Inbox split — all in two taps. What you cannot do inside the app is view your full blocked senders list, create or edit inbox rules, or block an entire domain. Those tasks need a browser, even if you are completing them on the same phone.
There is also a category confusion that sends many readers here first: mail that appears to have vanished from your inbox may not be in the Junk folder at all. It may be in the Other tab of the Focused Inbox — a separate tab that is not junk, not filtered, and easy to miss. Getting that distinction right determines whether you need to block anything at all, or just move a message between tabs.
Before you start: Focused, Other, or Junk?#
Outlook mobile routes incoming messages to one of three places: the Focused tab, the Other tab, or the Junk folder. They are not interchangeable, and the right action depends on which one your mail is actually landing in.
The Focused tab is what you see when you open the inbox. Outlook's server-side algorithms sort messages from your frequent contacts, replies to threads you have started, and calendar-related mail into this tab. Everything else — newsletters, automated notifications, messages from senders you have not emailed before — goes to the Other tab instead. Critically, mail in Other is fully delivered and intact. It is not filtered, not held, and will not be deleted automatically. It is simply sorted out of the primary view.
The Junk folder is the actual spam folder. Messages land there when Microsoft's spam filter flags them, or when you or another device has blocked the sender. Junk email is kept for 30 days and then deleted automatically.
Before you block anyone, tap the Focused or Other label at the top of your inbox to switch between tabs. A message from a new contact, an infrequent sender, or a mailing list you signed up for is likely in Other, not Junk — and it does not need a block. Moving it to Focused is enough, and doing so trains Outlook to route that sender to Focused automatically going forward.
Other is not Junk
Steps to block and report junk in the Outlook mobile app#
The steps below work on both iPhone and Android. The menu labels and paths are the same on both platforms; minor visual differences in layout do not change the sequence.
- 1
Open the message — do not rely on swipe
Swipe gestures in the Outlook app are limited to a pre-configured set of actions such as archive, delete, or flag. The junk-email controls — Report Junk and Block Sender — are not available via swipe. Open the email fully by tapping it before going further.
- 2
Tap the three-dot menu
With the message open, tap the three-dot icon in the top-right corner of the message view. This opens the action menu. You will see options including Move, Flag, Report Junk, and others depending on your account type.
- 3
Choose your action: Junk, Phishing, or Block Sender
Tap Report Junk. A second menu appears with three choices. Select Junk if the message is unwanted commercial mail or general spam — this moves the message to the Junk folder and signals to Microsoft's filter that this type of mail is unwanted. Select Phishing if the message impersonates a brand, bank, delivery service, or person to steal credentials or push a malicious link — phishing reports go to Microsoft's security team separately from regular spam reports. Select Block Sender to prevent all future mail from that specific address from reaching your inbox. When prompted, tap OK or Confirm to complete the action. Blocking a sender moves all future messages from that address to Junk automatically.
- 4
Move a message to Junk without blocking the sender
If you want to remove a message without permanently blocking the sender — useful for a one-off message from a sender you may still want to hear from occasionally — tap the three-dot menu and select Move, then pick Junk Email from the folder list. This files the message without adding the sender address to your blocked list.
- 5
Turn off Focused Inbox for a single flat view
If the Focused and Other split is confusing rather than helpful, you can disable it per account. Tap your profile photo or initials in the top-left corner of the app, then tap Settings. Scroll to the account you want to change and tap Mail. Find the Focused Inbox toggle and switch it off. Your inbox will then show all messages in a single date-sorted list with no split. Because the setting is per account, you need to disable it separately for each account if you have more than one in the app.
What the mobile app can and cannot do#
The table below maps common junk-email tasks against what each surface supports. Tasks listed as web-only require signing in to outlook.live.com or outlook.office.com in a browser. You can do this from your phone's browser without needing a computer — request the desktop version of the site in your browser settings to access the full controls.
| Task | iOS app | Android app | Web browser |
|---|---|---|---|
| Report a message as Junk or Phishing | Yes — three-dot menu then Report Junk | Yes — three-dot menu then Report Junk | Yes |
| Block one sender address | Yes — three-dot menu then Report Junk then Block Sender | Yes — three-dot menu then Report Junk then Block Sender | Yes |
| View and manage the blocked senders list | No — web required | No — web required | Yes — Settings then Mail then Junk email |
| Block an entire domain | No — web required | No — web required | Yes — Settings then Mail then Junk email then Blocked senders |
| Create or edit inbox rules | No — web required | No — web required | Yes — Settings then Mail then Rules |
| Toggle Focused Inbox on or off | Yes — profile photo then Settings then Mail per account | Yes — profile photo then Settings then Mail per account | Yes |
When it doesn't work — and what to do next#
The Block Sender action in the Outlook mobile app covers a single email address. If the sender you blocked rotates through additional addresses — sending from a different local part at the same domain, or from a different domain entirely — each new address bypasses your block. The new message arrives as if you had never taken any action, because from Outlook's perspective you have not blocked that address.
Domain-level blocking is the practical fix for senders who rotate, and it requires the web interface. On your phone, open a browser and go to outlook.live.com. Tap the browser's menu and request the desktop version of the page. Sign in, then go to Settings, Mail, and Junk email. Under Blocked senders and domains, add just the domain without a full address — for example, enter the domain name itself rather than a specific address at that domain. Outlook will then route all future mail from any address at that domain to Junk, regardless of the local part.
If you created inbox rules on the Outlook desktop app or the web interface, those rules do apply on mobile. Rules in Outlook run on Microsoft's mail servers, not on your device, so a rule you built in Outlook on Windows or in the web settings filters mail before it reaches your phone. The mobile app only lacks the ability to create or change those rules — it inherits whatever is already configured server-side.
A common reason a desktop rule stops applying on mobile is that it was saved as a client-only rule in classic Outlook rather than being synced to the server. If a rule works on desktop but seems to have no effect on your phone, sign in to the web interface and check whether the rule appears there. If it does not, recreate it through the web settings — that version runs on the server and applies everywhere.
A faster way to keep unwanted mail out#
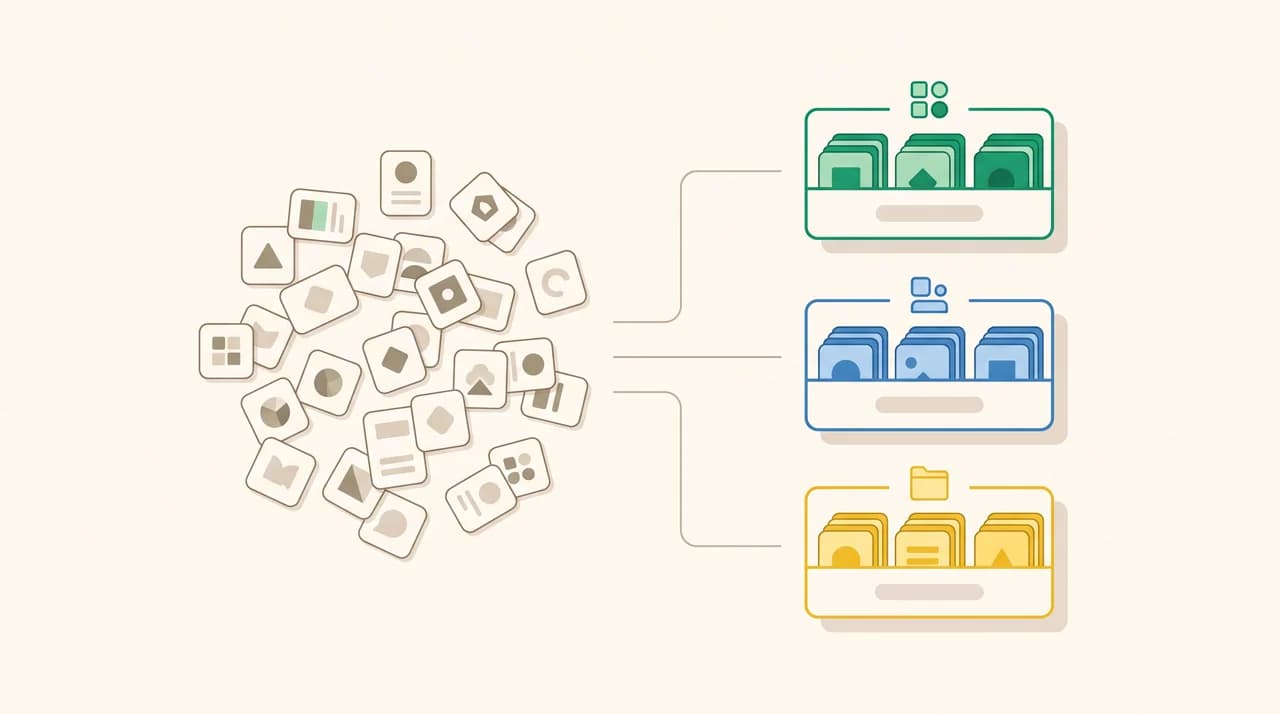
The steps above are free and they work. The limit is that blocking one address at a time is a reactive loop: you block, the sender rotates to a new address, you block again. The category of mail keeps arriving because a block list matches specific addresses and bulk senders have no shortage of them.
We build AI Emaily — an AI-native email client that connects to Outlook, Gmail, iCloud, and other IMAP accounts. The spam protection layer works above your mail provider's own filter and classifies messages by sender behaviour and content pattern rather than a specific From address. A cold-email filter keeps unsolicited outreach out of the inbox without requiring you to block each new address variant as it appears. You can see how that layer works on the spam protection page.
If you want to connect your Outlook account, the Outlook connection guide walks through setup. The app is available on the web, as a native iOS app, and on Android as a PWA — meaning you can use it on the same phone you are using now.
Frequently asked
See it in AI Emaily
Keep reading
Sources

Written by
Nafiul HasanNafiul Hasan is an entrepreneur and AI automation system builder with 10+ years of experience turning messy, manual workflows into reliable automated systems. He designs and ships AI enterprise solutions end-to-end — the agent logic, the data plumbing, and the product people actually use — and founded AI Emaily to give busy professionals their attention back. He writes here from the builder's seat: what works, what breaks, and how to put AI to work without giving up control.