How to Use Fastmail Masked Email (Setup and Real Workflow)

The short answer
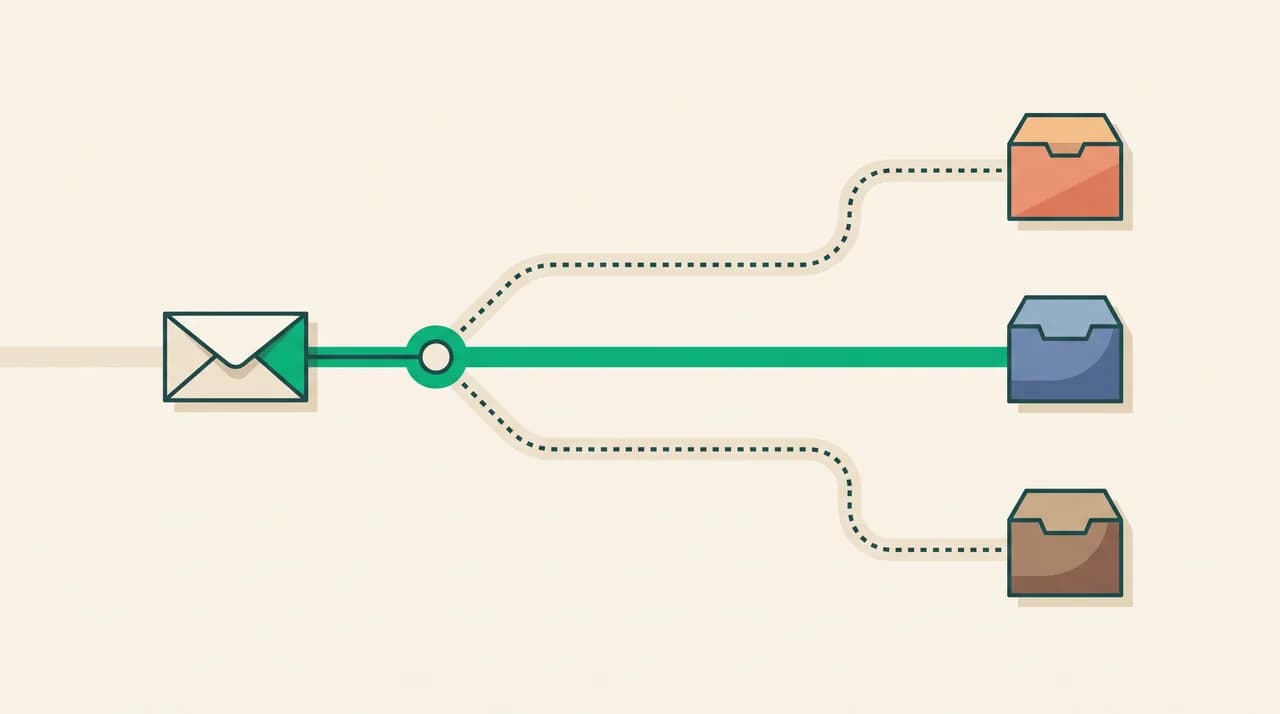
Fastmail Masked Email creates a unique, random address per service you sign up to. Mail sent to the mask forwards to your real inbox; replies route back through the mask so senders never see your actual address. Create masks in Fastmail settings or directly via 1Password at signup. Mute or delete a mask to cut off a sender permanently.
Learn how to use Fastmail Masked Email — create, reply from, mute and delete masks to keep your real address private.
On this page
- 01What do you need before using Fastmail Masked Email?
- 02How to create a Fastmail masked email address
- 03Can you reply from a Fastmail masked email address?
- 04How Fastmail Masked Email compares to similar tools
- 05How to mute or delete a Fastmail masked email
- 06What to do when Fastmail Masked Email is not working
- 07Managing the inbox that masked email builds
Fastmail Masked Email generates a unique, randomly formed address for each service you hand it to. Mail sent to that address forwards straight to your real Fastmail inbox. When you reply, Fastmail routes the response back through the same mask, so the sender only ever sees the generated address and never your primary one. If a newsletter starts abusing its list or a site sells your contact details, you mute or delete the mask instead of chasing an unsubscribe link.
This guide covers how to use Fastmail Masked Email from first setup through daily management: creating masks in Fastmail settings and through the 1Password integration, replying so your real address stays hidden, muting and deleting masks you no longer want, and what to do when something stops working. A comparison table shows how the feature sits against Apple Hide My Email and Firefox Relay for readers weighing the options.
What do you need before using Fastmail Masked Email?#
Fastmail Masked Email is available on all paid Fastmail plans — Individual, Family, and Business — as of July 2026. It is not included on any free trial or starter account; you need an active paid subscription before the feature appears in your settings.
The 1Password integration is optional but worth connecting if you already use 1Password. Once linked, 1Password can generate a fresh mask directly from its autofill panel when you register on a new site, without opening Fastmail separately.
- An active Fastmail account on a paid plan
- Access to Fastmail on web, iOS, or Android — the Masked Email settings panel is in the same place on all three
- Optionally, a 1Password account: connect it under 1Password Settings then Integrations then Fastmail, authenticate with your Fastmail credentials, and the integration is ready immediately
How to create a Fastmail masked email address#
There are two routes: through Fastmail's settings panel directly, or through 1Password when you are mid-registration on a new site. Both routes create the same address, and it appears in your Masked Email list either way.
- 1
Open Fastmail settings
In the Fastmail web app, click the gear icon at the top right of the screen. On iOS or Android, open the main menu and tap Settings. Both take you to the same settings area.
- 2
Go to Privacy and Security, then Masked Email
Select Privacy and Security from the settings sidebar. Masked Email is listed there. Click or tap it to see your existing masks and the button to create a new one.
- 3
Click Add masked email
Fastmail generates a random address immediately. The format is a short alphanumeric string at a Fastmail domain — something like [email protected]. The address is live as soon as it appears; you do not need to save or confirm anything separately.
- 4
Add a label, then copy and use the address
Type a label that makes the mask identifiable later — the site name, a category like 'newsletters', or the date. Copy the address and paste it into the email field on the external service's registration form.
- 5
Alternative: create a mask from 1Password
When 1Password's autofill panel opens on a new registration form, look below the suggested password for a Masked Email option. Select it and 1Password calls Fastmail's API to generate the mask, fills the email field automatically, and saves the mask alongside the new login. No tab-switching or manual copying required.
Label every mask the moment you create it
Can you reply from a Fastmail masked email address?#
Yes. When a message arrives through a mask, Fastmail forwards it to your inbox with the reply-to header already set to the masked address. Reply in the normal way and Fastmail sends the response from the mask. The recipient sees only the masked address — your primary address is never exposed.
One situation to watch: if you open a fresh compose window and the From field shows your primary address, you are not using the mask. The mask activates automatically when you reply to a forwarded message. To send a new, outbound message from a mask rather than replying, click the From field in the compose window and select the masked address from the dropdown. Fastmail treats masks as aliases you can choose from at any time, not just when replying.
How Fastmail Masked Email compares to similar tools#
Fastmail Masked Email is built directly into the email provider, so no browser extension is required and no third-party relay sits between your inbox and the sender. Other alias and masking services take different approaches, with different requirements and limitations. The table below covers the tools that come up most often alongside Fastmail's feature.
| Fastmail Masked Email | Apple Hide My Email | Firefox Relay | |
|---|---|---|---|
| Works with | Any Fastmail paid account | iCloud+ subscription | Any email address |
| Reply from mask | Yes | Yes, via iCloud relay | Receive only on free; yes on Premium |
| Browser extension needed | No — built into Fastmail | No — built into Apple OS and iCloud web | Yes — extension or app required |
| Custom label per mask | Yes | Yes | Yes |
| Mask limit | Unlimited on paid plans | Unlimited | 5 on free; unlimited on Premium |
| Paid plan required | Yes — Fastmail paid plan | Yes — iCloud+ subscription | No — free tier available |
| Works outside Apple devices | Yes | iCloud web only on non-Apple | Yes |
How to mute or delete a Fastmail masked email#
Both options are in the same Masked Email settings panel where you created the address. Muting stops forwarding without removing the address from your account; deleting removes it permanently and immediately.
- 1
Open the Masked Email list
Go to Settings then Privacy and Security then Masked Email. If the list is long, use the search field to find a specific mask by label or address.
- 2
Mute a mask
Toggle the active switch next to the mask to off. Mail sent to that address stops forwarding immediately. Depending on the sending service, the sender may receive a bounce or the message may be silently dropped. A muted mask can be re-enabled at any time using the same toggle.
- 3
Delete a mask
Click or tap the mask to expand its options, then select Delete. Deletion is immediate and permanent. Mail to the deleted address will bounce from that point forward. There is no undo and no recovery path, so use mute first if you are not certain the address is finished.
Muting is the safer default for any mask you want to silence but might need again — a seasonal shopping address, a service you might rejoin, or any mask where you are not fully certain. Deleting is the right call only when you are certain the address will never be needed and you want to guarantee no future mail can reach you at it.
What to do when Fastmail Masked Email is not working#
Three situations come up repeatedly when the feature seems to stop behaving as expected.
- Mail is not arriving through the mask: open the Masked Email settings panel and confirm the mask is active rather than muted. If the mask is active, check the All Mail view in Fastmail — Fastmail's spam filter runs after the mask forwards a message, so a legitimate email can still land in the spam folder
- A reply went from your primary address instead of the mask: you composed a fresh email without switching the From field first. Open a compose window, click the From address, select the masked address from the dropdown, and send from there. Replies to messages that arrived through the mask use the mask automatically without this step
- 1Password is not offering the Masked Email option: the integration may have lost authentication. Go to 1Password Settings then Integrations, find the Fastmail entry, and reconnect. The option returns to the autofill panel immediately after you re-authenticate
Masked Email is a privacy layer, not a spam filter
Managing the inbox that masked email builds#
Setting up masks controls where your address goes. Once you are running dozens of them across shopping accounts, newsletters, and one-off signups, the inbox that results can still be busy — receipts, service alerts, and promotional mail all arriving in the same stream as messages that need a real response.
That triage layer is where we build AI Emaily. AI Emaily is an AI-native email client that connects to Fastmail over IMAP, working on top of the inbox you already have, masks and all. Its cold-email filter and spam-protection layer separate signal from service noise without manual sorting. You set a Personal Context brain once to describe what matters to you; the client drafts and routes from that, not your past mail. AI Emaily does not create or manage Fastmail masks — for that, the Fastmail settings panel and 1Password integration covered above are the right tools. See the AI Emaily pricing page for plan details and to start a 7-day free trial.
Frequently asked
See it in AI Emaily
Keep reading

Written by
Nafiul HasanNafiul Hasan is an entrepreneur and AI automation system builder with 10+ years of experience turning messy, manual workflows into reliable automated systems. He designs and ships AI enterprise solutions end-to-end — the agent logic, the data plumbing, and the product people actually use — and founded AI Emaily to give busy professionals their attention back. He writes here from the builder's seat: what works, what breaks, and how to put AI to work without giving up control.