Gmail Putting Legitimate Emails in Spam: How to Stop It

The short answer
When Gmail puts legitimate emails in spam, open your spam folder, find the message, and click Not Spam. Then create a filter for that sender: in the search bar type their address, click Create filter, tick Never send it to Spam, and save. The filter is durable; the Not Spam click alone is not.
Gmail putting legitimate emails in spam? Mark the message Not Spam, then create a filter that forces inbox delivery for that sender.
On this page
Gmail putting legitimate emails in spam is one of those failures that compounds quietly. A client's reply lands in spam and you notice two days later. A password reset goes there and locks you out. A contract sits waiting on an approval that never arrived because the thread disappeared.
The root cause is almost always one of five things, and the fix is short once you know which applies. This guide covers what drives the misclassification, the three fixes that actually work, and how to tell which one applies to your situation.
What Gmail's spam filter actually does#
Gmail's spam filter is a machine-learning classifier, not a rule set you wrote. It is trained on patterns across billions of messages and fine-tuned by signals from your own account: what you mark as spam, what you open, what you move. When it puts a legitimate message in spam, it is making a probabilistic judgment — the message shares enough signals with spam (sender reputation, content patterns, authentication results) that the classifier tips it the wrong way.
Marking a message Not Spam sends a correction signal to the classifier. It is one signal among many, and it does not command Gmail to treat every future message from that sender the same way. That is why the same sender can end up in spam again three weeks later. A filter rule is different: it instructs Gmail to bypass the classifier entirely for messages matching the condition, and that instruction does not decay over time.
Why it keeps happening: the common causes#
Confirm the cause before applying a fix. The table below maps the five most common causes to how you can verify each one and what to do about it.
| Cause | How to confirm | Fix |
|---|---|---|
| Sender's domain fails authentication — SPF, DKIM or DMARC missing or misconfigured | Open the message in spam. Click the three-dot menu, then Show original. Find Authentication-Results in the headers — spf=fail, dkim=fail or dmarc=fail confirms the problem. | Create a Never send it to Spam filter for that sender as a stopgap. Tell the sender their outbound authentication is broken — it is their DNS record to fix, not yours. |
| Gmail's classifier learned a bad pattern from this sender or similar messages | No authentication failure in the headers. The message topic, formatting or sender behaviour resembles promotional or bulk mail even though it is not. | Mark the message Not Spam to send a correction signal, then create a Never send it to Spam filter so future messages bypass the classifier. |
| Sender is not in your Google Contacts | Their email shows as a raw address rather than a saved contact name in the From field. | Add them to Google Contacts. Gmail gives saved contacts a mild trust signal that nudges borderline messages toward the inbox. |
| A previous spam marking — by you or inferred from patterns across Gmail users | Older messages from the same sender are already in your spam or trash folder. | Mark each misfiltered message Not Spam. For senders you consistently want, a filter is more reliable than repeated manual corrections. |
| Message is formatted like bulk mail — images, unsubscribe link, marketing layout | The email has a promotional layout, a footer with a List-Unsubscribe header, or heavy use of images relative to text. | Create a filter on the From address and tick Never send it to Spam. This bypasses the bulk-mail signal entirely. |
Fix 1: Mark as Not Spam#
Start here to send a correction signal for messages already in your spam folder. Mark every message from this sender currently in spam — not just the most recent one. The cumulative signal is stronger than a single correction. Keep in mind that this step alone is not durable: for important senders, follow it with Fix 2.
- 1
Open your spam folder
Click Spam in the left sidebar of Gmail. If you do not see it, click More to expand all labels. On the Gmail mobile app, tap the menu icon and scroll down to Spam.
- 2
Find the misfiltered message
In the Gmail search bar, type in:spam from:[email protected] — replacing the address with the sender's actual address. This surfaces all their messages in spam without requiring you to scroll through unrelated ones.
- 3
Click Not Spam
Open the message. Click the Not spam button at the top of the message view. On Gmail's web interface it appears just below the subject line. On mobile it may be under the three-dot menu. The message moves to your inbox.
- 4
Repeat for all affected messages
If the sender has multiple messages in spam, repeat for each one. Each Not Spam click is a separate correction signal; clearing all of them at once sends the strongest cumulative correction you can give the classifier.
Not Spam is a signal, not a command
Fix 2: Create a filter that never sends to spam#
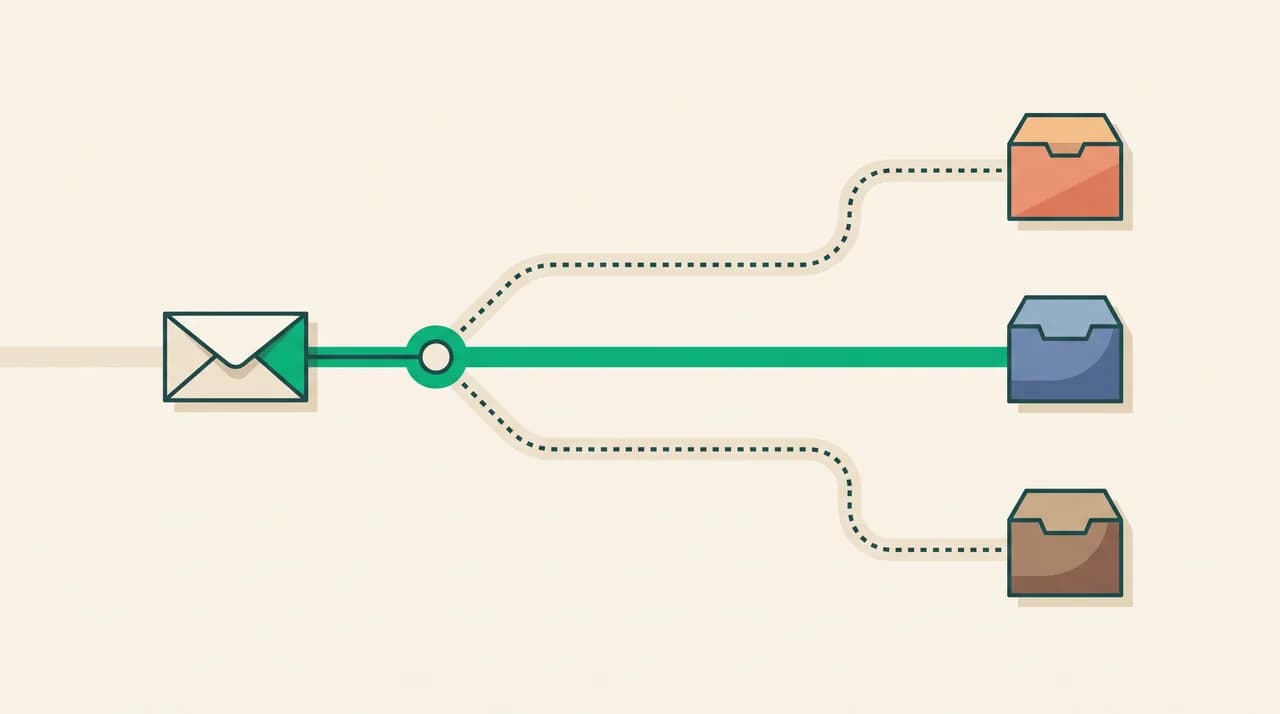
This is the durable fix. A filter with Never send it to Spam bypasses Gmail's classifier entirely for messages matching the rule. Unlike the Not Spam signal, the filter does not decay — it applies to every future matching message until you explicitly delete it. Create one per sender address, or per domain if you want to cover an entire organisation at once.
- 1
Open Gmail's advanced search
Click the search options icon — the downward-pointing arrow at the right end of the Gmail search bar. This opens the advanced search panel.
- 2
Set the From condition
In the From field, enter the sender's full email address ([email protected]) to filter one sender. To cover all senders at a domain, enter @domain.com. Leave all other fields empty.
- 3
Click Create filter
At the bottom right of the advanced search panel, click Create filter. Do not click the Search button — that runs the search rather than starting a filter. The filter action screen opens.
- 4
Tick Never send it to Spam
On the filter action screen, tick the checkbox next to Never send it to Spam. This is the key action — it tells Gmail to route matching messages to your inbox regardless of what the classifier decides.
- 5
Apply retroactively if needed
If this sender already has messages in your spam folder that you want moved, tick Also apply filter to matching conversations before saving.
- 6
Save the filter
Click Create filter. The filter is now active. You can review and delete all filters at any time under Gmail Settings, then Filters and Blocked Addresses.
Fix 3: Add the sender to your contacts#
Adding a sender to Google Contacts gives Gmail a small additional trust signal. Google does not guarantee this alone will stop spam misclassification, so treat it as a complement to the filter rather than a replacement. It takes under a minute.
- 1
Open the message
Open the misfiltered message from your inbox after moving it with Fix 1 or Fix 2, or open it directly from the spam folder.
- 2
Hover over the sender name
Move your cursor over the sender's name or email address in the From field. A contact card appears with basic sender information.
- 3
Save to contacts
Click Add to contacts — the person icon with a plus sign on the contact card. The sender is saved to Google Contacts and associated with your Gmail account.
How to tell which cause you have#
The fastest diagnostic is to open the misfiltered message in spam and inspect the email headers. In Gmail, open the message, click the three-dot menu at the top right, and select Show original. Near the top of the raw message, find the Authentication-Results header. If it shows spf=fail, dkim=fail or dmarc=fail next to the sender's domain, authentication is the root cause — Gmail is correctly suspicious because it cannot verify the message came from the domain it claims. Apply Fix 2 as a stopgap and let the sender know their outbound authentication is broken.
If authentication passes with spf=pass and dkim=pass, the cause is classifier bias, content signals, or account history. In that case, the filter in Fix 2 is the main lever. If many different senders are suddenly landing in spam at once, check whether you recently bulk-marked a group of messages as spam, or whether a filter you created is too broad. Under Gmail Settings, then Filters and Blocked Addresses, you can see every active filter and delete any that are catching more than intended.
Preventing it#
Check your spam folder at least once a week — a short scan takes two minutes and catches misfiltered mail before Gmail auto-deletes it at the 30-day mark. Create filters proactively for senders whose mail is important before the first message gets filtered. Keep your Google Contacts current: a contact list that reflects who you actually communicate with gives the classifier cleaner signals to work from.
The filter is the right long-term fix, but you create it after the first message has already been caught, and only if you notice. We build AI Emaily, an AI email client that reads authentication signals and sender behaviour on every inbound message. Its spam protection layer can surface mail that a provider's classifier misfiled — including messages you had not yet searched for — without requiring a manual filter per sender. AI Emaily connects to Gmail, Outlook and IMAP accounts, retains no persistent copy of your messages, and does not train any model on your mail. It comes with a 7-day free trial on the Pro and Autopilot plans.
Frequently asked
See it in AI Emaily
Keep reading
Sources

Written by
Nafiul HasanNafiul Hasan is an entrepreneur and AI automation system builder with 10+ years of experience turning messy, manual workflows into reliable automated systems. He designs and ships AI enterprise solutions end-to-end — the agent logic, the data plumbing, and the product people actually use — and founded AI Emaily to give busy professionals their attention back. He writes here from the builder's seat: what works, what breaks, and how to put AI to work without giving up control.