How to Create an Email Account in cPanel (and Connect It)

The short answer
In cPanel, open Email then Email Accounts and click Create. Pick your domain, set a username and password, choose a Storage Space quota, then click Create. To connect it, open Connect Devices for that account, note the IMAP settings — server mail.yourdomain.com, port 993 with SSL — and enter the full address and password in your mail app.
How to create an email account in cPanel: open Email Accounts, click Create, set a quota, then use Connect Devices for the IMAP settings on any device.
On this page
- 01Before you start
- 02How to create an email account in cPanel
- 03How to find your connection details (Connect Devices)
- 04How connecting differs by platform
- 05Webmail without setting up a client
- 06What quota should you set for a cPanel mailbox?
- 07cPanel email account not working? Start here
- 08A faster way, once the mailbox exists
This is how to create an email account in cPanel and connect it to a mail app, start to finish. Creating the mailbox takes about a minute in cPanel's Email Accounts interface; connecting it to your phone or desktop takes a few more, using the server name and port numbers cPanel generates for you.
Everything here covers account creation and connection only. If your mailbox is already full, or mail is not sending or receiving after setup, those are separate problems with their own fixes further down. The steps match the standard cPanel interface as of August 2026 — your web host may theme cPanel differently or hide an option, but the Email Accounts workflow is part of cPanel itself, so it is consistent from host to host.
Before you start#
A cPanel mailbox needs a domain that already lives on the account and a few small decisions made up front. Sorting these out first means you finish the Create form in one pass instead of backtracking.
Here is what to have ready:
- Access to cPanel. Log in through your host's dashboard, or at a URL like yourdomain.com/cpanel or yourdomain.com:2083. If you do not have the credentials, your hosting provider issued them when the account was set up.
- A domain on the account. You can only create a mailbox on a domain cPanel already manages — the main domain, an addon domain, or a subdomain. If the domain is not there yet, add it before you start.
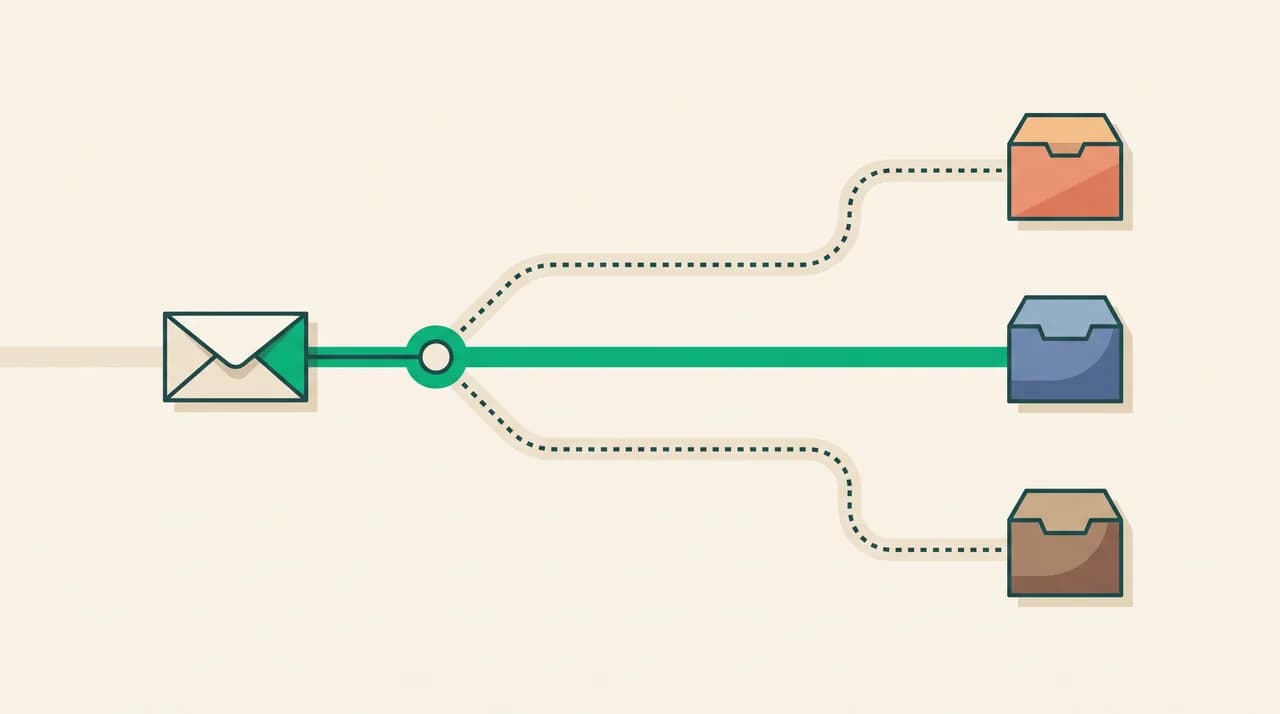
- A decision: IMAP or POP3. IMAP keeps mail on the server and syncs it to every device, which is what most people want. POP3 downloads mail to one device and, by default, removes it from the server. Choose IMAP unless you have a specific reason not to.
- A password, or an alternate email. cPanel can either take a password you set now or send a setup link to a different email address so the account's owner can set their own.
- A rough quota. Decide roughly how much storage the mailbox should get. You can change it later, so an estimate is fine.
Pick IMAP for anything with more than one device
How to create an email account in cPanel#
Open cPanel and go to the Email Accounts interface at Home then Email then Email Accounts. This is the same place you use to manage and delete mailboxes later. Then follow the steps below.
- 1
Click Create
On the Email Accounts page, click the Create button. A new interface appears with the fields for the mailbox. Click Go Back at any point to cancel without creating anything.
- 2
Choose the domain
If your account manages more than one domain, use the Domain menu to pick which one the address belongs to. If there is only one domain, cPanel skips this field.
- 3
Enter the username
Type the part that goes before the @ into the Username box — for example, sales or hello. Combined with the domain, this becomes the full address, such as [email protected]. Keep it lowercase and simple.
- 4
Set the password
Choose 'Set password now.' and type a strong password into the Password box, or choose 'Send login link to alternate email address' and enter another email so the owner can set their own password. Use the password generator if you want a strong one.
- 5
Set the Storage Space (quota)
Under Optional Settings, enter a custom size in the Storage Space field to cap how much the mailbox can hold, or select Unlimited to let it draw from the account's overall disk space. See the quota guidance further down for a sensible number.
- 6
Review the optional settings
You can leave 'Automatically Create Folders for Plus Addressing' at its default, and optionally tick 'Send welcome email with instructions to set up a mail client' so the owner gets the connection details by email.
- 7
Click Create
Click Create to make the mailbox. It appears in the account list immediately and is ready to receive mail as soon as the domain's DNS points here.
How to find your connection details (Connect Devices)#
Creating the mailbox is half the job; the other half is telling your mail app how to reach it. cPanel generates those details for you. In the Email Accounts list, find the account and click Connect Devices, which opens the Set Up Mail Client interface.
That page shows two blocks of settings: Secure SSL/TLS settings, which cPanel strongly recommends, and non-SSL settings, which it does not. It also offers automatic setup scripts for some clients — historically iOS, macOS Mail, and a few others — that configure everything for you when your client is on the list.
If your client is not on the auto-setup list, enter the settings by hand. The table below is what the Secure SSL/TLS block looks like for a typical account, where mail.yourdomain.com is the mail server hostname cPanel shows for your domain.
| Setting | Secure SSL/TLS (recommended) | Non-SSL (avoid) |
|---|---|---|
| Incoming server (IMAP) | mail.yourdomain.com, port 993 | mail.yourdomain.com, port 143 |
| Incoming server (POP3) | mail.yourdomain.com, port 995 | mail.yourdomain.com, port 110 |
| Outgoing server (SMTP) | mail.yourdomain.com, port 465 | mail.yourdomain.com, port 587 |
| Username | The full email address ([email protected]) | Same |
| Password | The mailbox password you set | Same |
| Authentication | Required for both incoming and outgoing | Required |
Always use the SSL/TLS ports
How connecting differs by platform#
The settings are identical everywhere — the same hostname, ports, and full-address username. What differs is where you type them. Some platforms autodiscover the settings from the address, and some make you fill them in by hand.
| Platform | Fastest way to add the account | Manual settings if it asks |
|---|---|---|
| Windows (Outlook / Mail) | Add account, enter the full address and password, and pick IMAP. Some versions try to autodiscover the server. | Server mail.yourdomain.com; IMAP 993 SSL; SMTP 465 SSL; username is the full address. |
| macOS (Apple Mail) | Mail then Add Account then Other Mail Account, or run cPanel's macOS Mail setup script from Connect Devices. | Same as above; enter under Advanced or manual settings if autodiscovery fails. |
| iPhone / iPad (iOS Mail) | Settings then Mail then Accounts then Add Account then Other, or install the iOS configuration profile from Connect Devices. | Choose IMAP; Host Name mail.yourdomain.com; user name the full address; SSL on. |
| Android (Gmail app / others) | Add account, choose Other or Personal (IMAP), enter the address, then fill the servers in manually. | Server mail.yourdomain.com; IMAP 993 SSL; SMTP 465 SSL; username the full address. |
| Webmail (any browser, no setup) | Go to yourdomain.com/webmail and log in with the full address and password — nothing to configure. | None. Webmail runs in the browser. |
Webmail without setting up a client#
If you would rather not configure a mail app at all, cPanel accounts include Webmail, a browser inbox for each address. Reach it at yourdomain.com/webmail, at webmail.yourdomain.com, or at yourdomain.com:2096 for the SSL-secured version. Log in with the full email address and the mailbox password — not your cPanel login.
In current cPanel versions the webmail application is Roundcube. Older versions bundled Horde and other apps, but cPanel has narrowed this down over time, so what you see depends on your host's cPanel version. Webmail is handy as a fallback: it always works even when a device's mail app will not connect, which makes it useful for ruling out whether a problem is the mailbox or the client.
What quota should you set for a cPanel mailbox?#
The Storage Space value caps how much mail — messages plus attachments — the mailbox can hold before new mail bounces. There is no single correct number; it depends on how the account is used and how much disk your hosting plan gives you overall.
As practical guidance, not a cPanel rule: a personal or low-traffic mailbox on IMAP is comfortable around 2 to 5 GB, because IMAP keeps everything on the server and it adds up. A mailbox that mostly forwards, or one read over POP3 that downloads and clears, can be much smaller. A shared address that receives large attachments — invoices, design files — should get more headroom, or Unlimited if your plan's total disk can absorb it.
Set it a little higher than you think you need. Bumping a quota up later is a two-click edit in Email Accounts, but a mailbox that quietly hits its cap starts rejecting mail, and the sender gets the bounce before you notice.
Unlimited is not really unlimited
cPanel email account not working? Start here#
Most cPanel email problems at setup time trace back to a handful of causes, and nearly all of them are a wrong setting rather than a broken mailbox. Match your symptom in the table, apply the fix, and re-test — often in webmail first, since webmail bypasses client settings entirely.
| Symptom | Likely cause | What to check |
|---|---|---|
| Cannot log in to webmail or a client | Username is not the full address, or the password is wrong | Log in with the whole address ([email protected]), not just the part before the @. Reset the password from Manage in Email Accounts if unsure. |
| Client will not connect or times out | Wrong server name or ports, or an SSL mismatch | Use mail.yourdomain.com with IMAP 993 and SMTP 465 over SSL. Re-copy the exact values from Connect Devices. |
| SSL certificate warning on connect | mail.yourdomain.com is not yet covered by a certificate | Use the server's own hostname shown in Connect Devices, or the mail hostname your host lists, until the domain's mail SSL is issued. |
| Receiving works, sending fails | Outgoing authentication is off, or the network blocks the SMTP port | Turn on authentication for outgoing mail, try port 465 (or 587 with STARTTLS), and test on a different network — some ISPs block mail ports. |
| New account receives nothing | DNS or MX records do not point to this cPanel server, or DNS has not propagated | Confirm the domain's MX record points to the cPanel server, and allow time for DNS changes to spread. |
| "Mailbox is full" errors | The Storage Space quota is reached | This is a quota problem, not a setup one — raise the quota or clear old mail. It has its own fix. |
A faster way, once the mailbox exists#
You have just done this the manual way: create the mailbox in cPanel, then copy the server name and ports into each device by hand. That works, and none of the steps above need a product to complete. What a tool changes is what happens after the mailbox exists and the mail starts arriving.
We build AI Emaily, an AI-native email client. A cPanel mailbox is a standard IMAP account, so you can connect it to AI Emaily using the same server and port details you pulled from Connect Devices — it does not replace cPanel or host your mail, it sits on top of the inbox and triages, drafts, and files, with approve-before-send and a full audit trail. It runs alongside Gmail and Outlook accounts in one place, and it never trains on your mail. AI Emaily pricing is a 7-day free trial on Pro or Autopilot, with no free plan, if you want to point it at a live cPanel inbox.
Frequently asked
See it in AI Emaily
Keep reading
Sources

Written by
Nafiul HasanNafiul Hasan is an entrepreneur and AI automation system builder with 10+ years of experience turning messy, manual workflows into reliable automated systems. He designs and ships AI enterprise solutions end-to-end — the agent logic, the data plumbing, and the product people actually use — and founded AI Emaily to give busy professionals their attention back. He writes here from the builder's seat: what works, what breaks, and how to put AI to work without giving up control.