How to Move a Sender to Primary in iPhone Mail Categories

The short answer
To move a sender to Primary in iPhone Mail, open an email from that sender, tap the three-dot menu at the top of the message, and choose Categorize Sender, then Primary. Mail applies the change to future messages from that address. The correction does not sync automatically to Mac Mail.
Move a sender to Primary in iPhone Mail: step-by-step instructions, what sticks across devices, and what to do when the fix doesn't last.
On this page
Apple Mail's category classifier runs silently on your device, sorting every new message into one of four buckets — Primary, Transactions, Updates, or Promotions — from the moment iOS 18.2 was installed. Most of the time the sorting is accurate enough to be useful. But when a client's reply slips into Updates or a supplier's invoice lands in Promotions, the misfiling is not immediately obvious. The message is there, just not where you expected it.
Apple provides a direct correction for this: the Categorize Sender option in the email's three-dot menu. This guide explains how to move a sender to Primary in iPhone Mail, what the change actually applies to, whether the correction carries across to your Mac, and what to do when a sender keeps returning to the wrong category. Each behaviour is labelled with the iOS version it was verified on.
The short answer#
Open any email from the sender you want to reclassify. Tap the three-dot menu (…) in the top-right corner of the open message — not the three-dot menu in the inbox header, but the one inside the email itself. Select Categorize Sender. A sheet slides up with four options: Primary, Transactions, Updates, and Promotions. Tap the one you want. Mail applies the change immediately, and all future messages from that sender's email address will be routed to the category you selected.
Two things are worth knowing upfront: the change applies to the specific email address, not to the entire sending domain. A client who replies from a different address will still go wherever the classifier puts them until you correct that address separately. And the correction does not sync from your iPhone to your Mac — both devices maintain their own independent category preferences.
Before you start: why the classifier gets it wrong#
Apple Intelligence uses an on-device model to sort incoming mail. No message content is sent to Apple's servers; the model reads signals such as the sender's email address, the sending domain's reputation, subject-line patterns, and header metadata — including whether the message was sent to an undisclosed list rather than directly to you.
The model is probabilistic, not rule-based. It makes decisions based on what senders with similar signals typically send. A supplier whose invoices arrive formatted like a marketing email — HTML layout, logo at the top, unsubscribe footer at the bottom, high-volume sending domain — can score as Promotions even if the content is entirely transactional. A newsletter you correspond with personally, where replies go back and forth, can score as Primary when you would prefer Updates. These are the model's best guesses from imperfect signals, not bugs.
Understanding this explains two things: why the override works reliably (you are supplying ground truth the model lacked), and why the same domain with multiple sending addresses may route differently (each address builds its own signal profile). The table below shows what each category is designed for and where misfilings tend to occur.
| Category | What belongs here | Common misfiling |
|---|---|---|
| Primary | Personal and work email likely to need a reply — colleagues, clients, personal contacts | Suppliers on bulk-send infrastructure; newsletters from contacts you reply to |
| Transactions | Order confirmations, receipts, shipping updates, booking details | Marketing email formatted to look like receipts; high-volume sender domains |
| Updates | Newsletters, app digests, social network notifications, subscription mail | Newsletters from addresses you also reply to; publications you read carefully |
| Promotions | Sale emails, discount codes, commercial marketing | Supplier and vendor email on shared marketing infrastructure; HTML-formatted invoices |
How to move a sender to Primary in iPhone Mail#
- 1
Open an email from the sender you want to reclassify
Navigate to the category tab where the message landed — Promotions, Updates, or Transactions — find a recent message from that sender, and tap it to open it fully. The Categorize Sender option only appears inside an open email, not in the inbox list by default.
- 2
Tap the three-dot menu (…) in the top-right corner of the open message
This menu appears at the top of the email view near the reply and trash icons. It is a different control from the three-dot icon in the inbox header, which has different options. If you do not see it, scroll up to the top of the message thread.
- 3
Tap Categorize Sender
A sheet slides up from the bottom of the screen showing all four category options. The category the sender is currently assigned to has a checkmark next to it. This option is available on iOS 18.2 and later, including iOS 26.
- 4
Select Primary — or whichever category you actually want
Tap the destination. You are not limited to Primary: the same menu lets you move a sender to Transactions, Updates, or Promotions if the classifier placed them somewhere wrong. Tap Done or the confirmation button if one appears.
- 5
Confirm the next message routes correctly
The change applies to future incoming messages, not to emails already in your inbox. Existing messages in the wrong tab stay where they are — they do not move retroactively. Wait for the sender's next message to arrive and check it lands in the correct category.
There is also a shortcut from the inbox list. In the category tab view, long-press any email in the message list to bring up a context menu that includes Categorize Sender. This is useful when scanning a category and spotting several misrouted senders — you can reclassify them in sequence without opening each email individually.
Existing emails do not move retroactively
Where Categorize Sender lives on each Apple platform#
The category system arrived on iPhone and iPad with iOS 18.2 and came to Mac with macOS Sequoia 15.2. The Categorize Sender control exists on all three platforms, but its location differs — and a correction made on one device does not carry over to the others.
| Platform | OS version required | How to access Categorize Sender | Syncs to other devices? |
|---|---|---|---|
| iPhone | iOS 18.2 or later (including iOS 26) | Open email → three-dot menu (…) top-right of message → Categorize Sender. Or long-press an email in the inbox list → Categorize Sender. | No — iPhone corrections apply to iPhone only |
| iPad | iPadOS 18.2 or later (including iPadOS 26) | Same as iPhone — three-dot menu inside the open email. The iPad layout is wider but the menu location is identical. | No — same correction needed separately on iPad |
| Mac | macOS Sequoia 15.2 or later | Open email → Message menu in the macOS menu bar at the top of the screen → Categorize Sender. Or Control-click the email in the message list. | No — Mac maintains its own independent category preferences |
The lack of sync is among the most-searched questions about this feature, and Apple's documentation is consistent on the answer: each device's category assignments are local. If you receive most of your mail on iPhone but check the same account on a Mac in the evening, you will need to apply the same Categorize Sender correction on both devices separately.
On Mac, the Message menu is in the macOS menu bar at the very top of the screen — not a button inside the Mail window itself. Click Message, then Categorize Sender, then pick the category. If you do not see the option, confirm you are running macOS Sequoia 15.2 or later by checking Apple menu > About This Mac.
What to do when the correction does not stick#
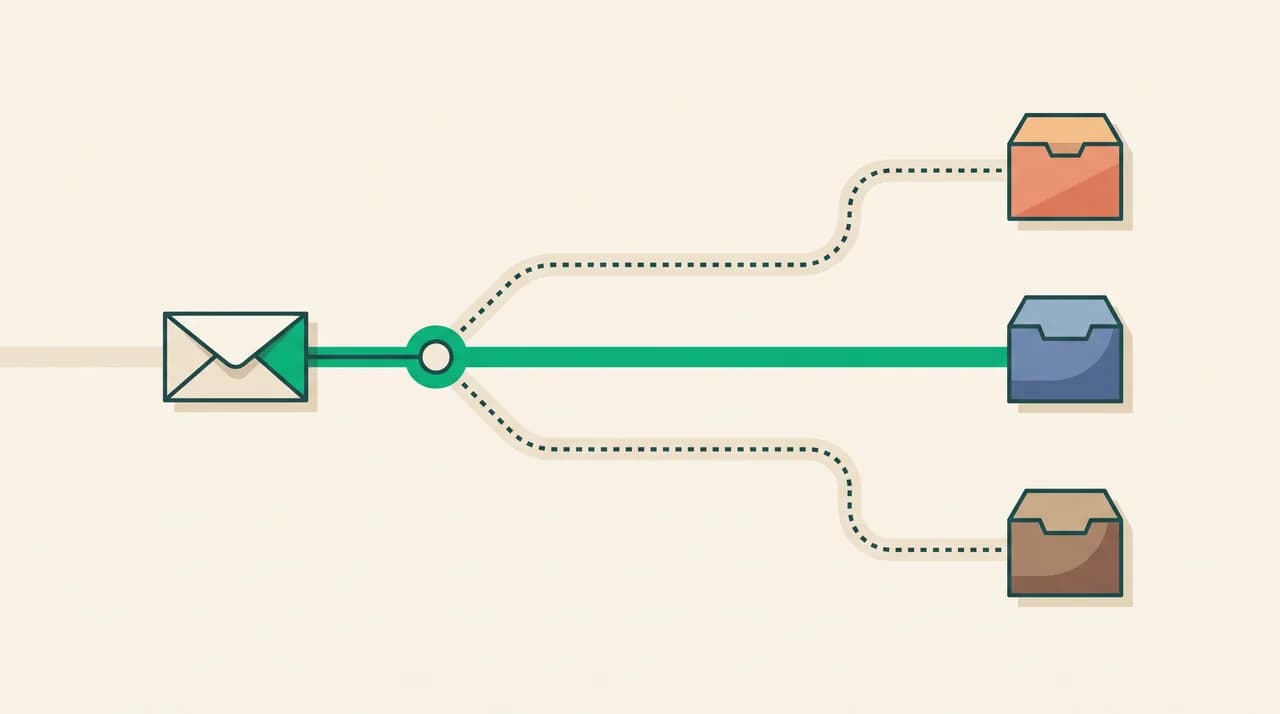
Most recategorizations apply permanently on the first attempt. A handful of problems come up repeatedly, each with a different cause and a different fix.
| Problem | Why it happens | Fix |
|---|---|---|
| Sender keeps landing in Promotions after recategorization | The sender uses multiple sending addresses. The correction applies only to the address on the email you had open; messages from a different address at the same domain route through an uncorrected profile. | Open a message from each distinct sending address and repeat Categorize Sender for each. Check the From field carefully — email platforms often rotate addresses by message type. |
| Categorize Sender is missing from the three-dot menu | You are viewing the inbox-level three-dot menu rather than the one inside an open email, or the account type does not support category overrides on this iOS version. | Make sure you have an email open, not the inbox list. The inbox three-dot menu has different options. If the option still does not appear after opening the email, verify the account is on iOS 18.2 or later. |
| Category correction reverts after a few days | Reported on some iOS beta builds and occasional stable releases; likely an iCloud preferences sync conflict overwriting the local correction. | Go to Settings > your name > iCloud > Show All, find Mail, toggle it off, wait 30 seconds, toggle it back on. Reapply Categorize Sender. Report continued reversions using the Feedback Assistant app. |
| Newsletters keep going to Updates instead of Primary | The classifier reads sending infrastructure and list-unsubscribe headers as newsletter signals regardless of whether you reply to the address. High-volume senders consistently score as Updates. | Use Categorize Sender to move specific newsletter addresses to Primary. If you want all mail in a single stream with no tab sorting, switch to List View from the inbox three-dot menu instead. |
| All my corrections disappeared at once | Resetting Apple Intelligence or tapping Reset Manual Categorization in Settings > Mail > Apple Intelligence and Siri clears every sender-level override in one step. | Recategorize senders from scratch. Consider keeping a short note of the addresses you have corrected so a future reset does not leave you hunting for the cause. |
One pattern worth noting: large companies often send different message types from different addresses on the same domain. A bank may send account alerts from [email protected] and promotional offers from [email protected]. The classifier builds a separate profile for each address, so correcting one does not affect the other.
Reset Manual Categorization clears all your overrides at once
A faster way to keep the right email in front of you#
The Categorize Sender approach works, but it is reactive: every sender the classifier misroutes requires a manual correction, one address at a time. If important mail regularly lands in the wrong tab, the triage layer is doing only a rough pass.
We build AI Emaily, an AI-native email client that connects to Gmail, Outlook, iCloud, and any IMAP account. Rather than sorting into static buckets, it reads each message and surfaces what actually needs your attention — drafting replies in a voice shaped by a Context brain and per-client profiles you set, not by mining your past mail. Replies wait for your approval before anything sends. There is a 7-day free trial on Pro and Autopilot plans.
Frequently asked
See it in AI Emaily
Keep reading

Written by
Nafiul HasanNafiul Hasan is an entrepreneur and AI automation system builder with 10+ years of experience turning messy, manual workflows into reliable automated systems. He designs and ships AI enterprise solutions end-to-end — the agent logic, the data plumbing, and the product people actually use — and founded AI Emaily to give busy professionals their attention back. He writes here from the builder's seat: what works, what breaks, and how to put AI to work without giving up control.