How to Stop Unwanted Emails Permanently: A Layered System

The short answer
You cannot stop unwanted email once and for all — new senders will always arrive. What you can build is a four-layer system: opt out at the source, filter and block at your provider, route signups through aliases, and automate the rest. Each new sender then costs you one action, not a daily decision.
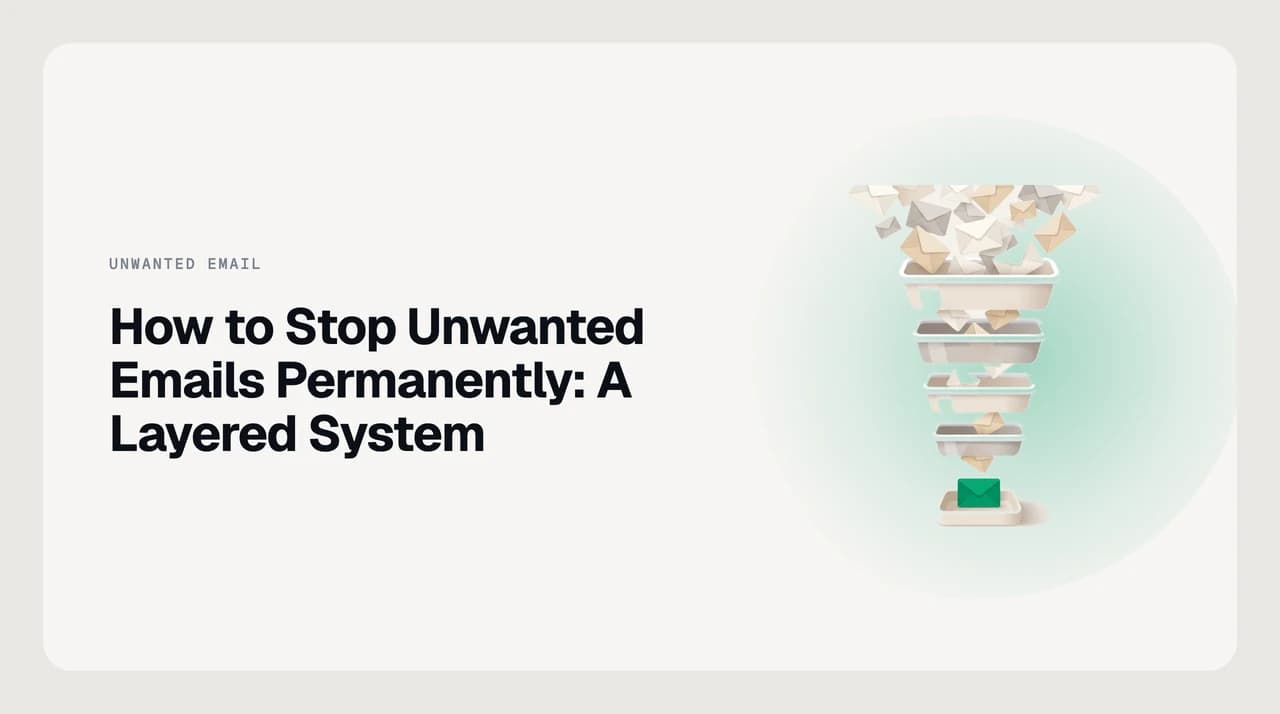
How to stop unwanted emails permanently: no single setting works forever, but a four-layer system reduces each new sender to one action.
On this page
- 01The short answer
- 02Before you start: sort what you are dealing with
- 03Layer 1: Opt out at the source
- 04Layer 2: Filter and block at your provider
- 05Layer 3: Contain new damage with an alias address
- 06Layer 4: Automate the residue
- 07Platform differences at a glance
- 08When it keeps coming back
- 09A faster option for busy inboxes
If you are searching for how to stop unwanted emails permanently, most results hand you one tip: unsubscribe, mark as spam, or use a filter. You try it. It works for a week. Then a dozen new senders appear and the cycle starts again. The problem is not the tip — the problem is expecting a single action to hold forever against a surface that never stops changing.
New senders keep arriving regardless of what you do. A retailer you bought from once sells its list. A company rebrands and starts over with a fresh domain. A sign-up form you completed last month had a pre-checked newsletter box. No single rule or setting catches all of them.
Permanently is the reader's word, not a promise any inbox can keep. What you can build is a system where each new sender costs you one action instead of a daily decision. This guide walks through four layers in the order they remove the most volume — starting with stopping the source.
The short answer#
You cannot configure your inbox into a state where unwanted mail never arrives again. What you can do is reduce the ongoing cost to near zero. The four-layer approach: opt out where the sender is legitimate, block or filter the rest at the provider level, route new signups through an alias so your real address stays clean, and create rules that handle stragglers automatically.
Once those layers are in place, each new unwanted sender is a ten-second task, not a recurring chore. That is the closest thing to permanent that actually exists.
Before you start: sort what you are dealing with#
The right action depends on who sent it. Spend two minutes on this before anything else.
- Legitimate sender you opted into: unsubscribe links required by CAN-SPAM work reliably here. Use them — a confirmed removal from the sender's database beats training a spam filter.
- Sender whose list bought or scraped your address: do not click unsubscribe. On cold or unsolicited mail, clicking confirms your address is active and can prompt more contact. Block or filter instead.
- Obvious spam or phishing: do not interact with anything inside the message. Go directly to your provider's spam controls, report it, and move on.
Do not click unsubscribe on mail you never opted into
Layer 1: Opt out at the source#
For mailing lists you actually signed up for, the unsubscribe link is more effective than a filter. It removes you from the sender's database so future messages are never generated in the first place, rather than arriving and being quietly routed away.
- 1
Find the Unsubscribe link in Gmail
Open the email. In Gmail on the web, the Unsubscribe link appears next to the sender's name at the top of the message — you do not need to scroll to the footer. Click it.
- 2
Confirm your removal
Gmail shows a popup with two options. Unsubscribe removes you directly through Gmail's built-in handling. Go to website takes you to the sender's own unsubscribe page if the list requires a manual step there. Choose whichever is shown.
- 3
Allow processing time
Google's own help notes the removal can take a few days to propagate. If mail from the same sender continues beyond a week, treat them as a Layer 2 case and filter or block.
- 4
Review all active subscriptions at once
In Gmail, click More in the left sidebar, then Manage subscriptions. Gmail lists every mailing list it has identified on your account. You can batch-unsubscribe from several senders in one session rather than handling each email individually.
- 5
Stop feeding new lists
Every subscription you prevent is one you will never have to remove. Go through your most-used services and switch transactional notifications to a secondary address. Apply this habit to every new signup from here forward.
Layer 2: Filter and block at your provider#
Some senders ignore opt-out requests. Unsolicited mail never had a valid opt-out to begin with. For both, your email provider's built-in controls are the right tool.
- 1
Block a sender in Gmail
Open the message, click the three-dot More icon next to the Reply button, and select Block [sender name]. All future mail from that address goes directly to Spam.
- 2
Block a sender in Outlook on the web
Go to Settings, then Mail, then Junk email. Under Blocked senders and domains, click Add blocked sender and enter the email address or an entire domain such as @example.com. Save.
- 3
Block a sender in Outlook desktop
Right-click the message and choose Block, then Block Sender. The sender's future mail moves to your Junk Email folder.
- 4
Create a filter for a persistent domain in Gmail
Click the Gmail search bar, then the slider icon at the right to open Show search options. Enter the domain in the From field. Click Search to confirm the right messages are caught, then click Create filter at the bottom of the results panel. Choose Delete it or Skip the Inbox (Archive it), then click Create filter. The rule applies to all future matching mail immediately.
- 5
Report rather than just delete
Reporting as spam feeds your provider's detection model, which improves filtering for future senders. In Gmail, select the message and click the Report spam button. In Outlook, right-click the message and choose Report, then Report junk.
Block the domain, not just the address
Layer 3: Contain new damage with an alias address#
Layers 1 and 2 deal with mail that already reaches your inbox. Layer 3 stops the next wave before it starts. The principle: never give out your real address to a sender that does not need it.
Most providers support some form of address aliasing. Gmail users can add a plus sign and any word to their address — [email protected] delivers to the same inbox but can be filtered as a group. Services such as SimpleLogin or Apple's Hide My Email go further: they generate a random forwarding address for each site, and you can disable one alias entirely if the sender starts sending junk without affecting anything else.
A practical split that holds up over time: use your real address only for contacts and services where the relationship matters. Use an alias or a dedicated secondary address for e-commerce, event signups, and any site you are trying for the first time. New noise then arrives at the alias, not your real inbox, and you can shut it down with one action.

Layer 4: Automate the residue#
After three layers, you will still receive mail that is neither unsubscribable nor blockable in a clean way — digests from services you still use, automated notifications you want available but not in your face, vendor updates you read quarterly. Rules handle these without requiring a decision each time they arrive.
- 1
Create an archive rule for low-priority senders
In Gmail, open Show search options from the search bar, define the sender or subject criteria, then Create filter and select Skip the Inbox (Archive it). The mail arrives and is searchable but does not interrupt your primary flow.
- 2
Route low-priority mail to a label or folder
Rather than deleting mail you might occasionally need, apply a label such as Receipts or Vendor Updates and mark it as read on arrival. Review and bulk-delete the label quarterly. This keeps the inbox clean while preserving a searchable archive.
- 3
Schedule a monthly filter review
Rules accumulate and drift. A 20-minute review once a month catches filters that are no longer needed, criteria that have grown too broad, and new noise that needs a rule. Filters left unreviewed tend to become invisible clutter that obscures your real inbox health.
Platform differences at a glance#
| Action | Gmail (web) | Outlook (web) | Outlook (desktop) |
|---|---|---|---|
| One-click unsubscribe | Yes — link appears next to the sender name at the top of the message | No native one-click; use the footer link or visit the sender's page | No native one-click; use the footer link or visit the sender's page |
| Block a sender | More icon (three dots) next to Reply → Block [sender]; mail goes to Spam | Settings → Mail → Junk email → Blocked senders and domains → Add blocked sender | Right-click message → Block → Block Sender; mail goes to Junk Email |
| Block an entire domain | Create a filter: From contains @domain.com → Delete it or Archive it | Settings → Mail → Junk email → Blocked senders → add @domain.com | Home → Block → Junk E-mail Options → Blocked Senders tab → Add → enter @domain.com |
| Create a filter or rule | Search bar → Show search options (slider icon) → set criteria → Create filter | Settings → Mail → Rules → Add new rule | Home tab → Rules → Create Rule |
| Report spam | Select message → Report spam button (octagon icon in toolbar) | Right-click → Report → Report junk | Right-click → Report → Report Junk or Report Phishing |
| Review all subscriptions | Left sidebar → More → Manage subscriptions | Not available natively; use footer links per sender | Not available natively; use footer links per sender |
When it keeps coming back#
If unwanted mail persists after working through all four layers, three causes cover most cases: the sender is rotating addresses within the same domain (solve with a domain-level block or filter rather than address-level), your address is on a third-party list that keeps being resold to new senders (solve with an alias going forward, since you cannot opt out of a list you were never on), or a previous action trained your spam filter the wrong way.
Check your active rules in Gmail under Settings, then See all settings, then the Filters and Blocked Addresses tab. Confirm each rule is still active and that the criteria still match what is arriving. In Outlook on the web, Settings, then Mail, then Junk email shows your blocked senders list — verify the domain is there, not just one specific address.
Why trusted mail can override your spam filter
A faster option for busy inboxes#
The four-layer system works, but it requires consistent upkeep — building filters, auditing them monthly, remembering to use an alias at the moment of signup. For high-volume inboxes, the maintenance cost of the system can start to approach the cost of the problem itself.
We build AI Emaily, an AI-native email client with a spam-protection layer and a Rules Brain that applies filtering criteria you define automatically. When an unwanted sender gets through, you set the rule once and it propagates forward — no return visits to settings pages. The Context Brain that informs how AI Emaily handles your mail is set by you explicitly; it is not derived from reading your past messages.
AI Emaily connects to your existing Gmail or Outlook account. You keep your address; it adds an automation layer on top. If the manual maintenance of four layers is costing you more time than the inbox problem it solves, that is the trade-off worth examining.
Frequently asked
See it in AI Emaily
Keep reading
Sources

Written by
Nafiul HasanNafiul Hasan is an entrepreneur and AI automation system builder with 10+ years of experience turning messy, manual workflows into reliable automated systems. He designs and ships AI enterprise solutions end-to-end — the agent logic, the data plumbing, and the product people actually use — and founded AI Emaily to give busy professionals their attention back. He writes here from the builder's seat: what works, what breaks, and how to put AI to work without giving up control.