How to Automatically Label Incoming Emails in Gmail

The short answer
Gmail labels incoming emails automatically through filters. Open the search bar, set your conditions — sender address, domain, subject keyword, or attachment — click Create filter, choose Apply the label, and pick a label. Gmail then files every matching message the moment it arrives. Filters run on Google's servers, so they apply across web, mobile, and any connected client.
How to automatically label emails in Gmail using filters — match by sender, subject, or domain, then Gmail files every matching message the moment it arrives.
On this page
Gmail labels are powerful organizational tools, but sorting each message by hand is a job in itself once you have more than a handful of them. The better approach is to automatically label incoming emails using filters: rules that watch every new arrival and tag it before you open the inbox. This guide walks through how to automatically label emails in Gmail, which filter criteria hold up over time, and where the system quietly fails so you can design around it from the start. Gmail has no menu item called rules, so how to create rules in Gmail and how to create a filter describe the same feature.
A quick distinction worth stating upfront: a Gmail label is not a folder. Applying a label through a filter tags the message — it does not move it. The message still appears in your inbox unless the filter also checks Skip the Inbox. If you want labeled messages filed away out of the main view, you need both actions. That two-checkbox pattern is the one most people miss on their first filter.
What you need before you create an auto-label rule#
Two prerequisites before you open the filter builder. First, the label must already exist. You cannot assign a label inside a filter if that label has not been created yet. In Gmail on the web, labels appear in the left sidebar — scroll to the bottom and click Create new label, or go to Settings > See all settings > Labels > Create new label. Give it a name that will be easy to recognize when it appears in the filter dialog.
Second, filters can only be built from a desktop browser. The Gmail mobile app lets you view your existing filters but not create or edit them. If you are away from a computer, the filter will have to wait.
One behavior that surprises people: a filter only acts on mail that arrives after you save it. It does not reach back and sort messages already in your inbox, unless you check the option labeled Also apply filter to matching conversations during setup. That checkbox is easy to miss, so it is worth noting before you click Create filter for the first time.
How to automatically label incoming emails in Gmail#
The process runs in eight steps. Each one matters in sequence because the filter builder moves you from describing the mail you want to label, to confirming the match looks right, to assigning the action.
- 1
Create the label first
Go to Settings > See all settings > Labels > Create new label. Name it and save. The label must exist before you can assign it inside a filter — the dropdown inside the filter builder only shows labels that are already in your account.
- 2
Open the filter builder from the search bar
Click inside the search bar at the top of Gmail. On the right side of the bar, click the small filter icon — the downward-pointing triangle or 'Show search options' tooltip. This opens the advanced search form where you describe the mail you want to catch.
- 3
Set your matching criteria
Fill in the fields that describe the mail you want to label. From: matches the sender address or an entire domain. Subject: matches keywords in the subject line. Has the words: searches across both subject and body. Has attachment limits the filter to messages with files. You only need to fill in the fields that apply — empty fields are ignored.
- 4
Preview the match before committing
Click Search to see which existing messages already match your criteria. Review the results. If the filter is catching messages it should not, narrow the criteria. If it is missing messages it should catch, broaden them. This preview step prevents a badly scoped filter from silently misfiling mail before you lock it in.
- 5
Click Create filter
This button appears after you run the preview search. Clicking it moves you from the search preview to the action screen, where you tell Gmail what to do with matching messages.
- 6
Check Apply the label and choose your label
On the action screen, check the box next to Apply the label. A Choose label dropdown appears. Select the label you created in step 1. If the label is not listed, it was not saved correctly — go back and create it first.
- 7
Optionally check Skip the Inbox
If you want matching messages to bypass the inbox entirely and go straight to the label, also check Skip the Inbox (Archive it). This is the setup for receipts, newsletters, and automated alerts you want filed but not cluttering your main view.
- 8
Save the filter
Click Create filter. If you want the rule to apply to messages already sitting in your inbox, check Also apply filter to matching conversations before saving. The filter is now active and will run on every new arrival that matches.
Choosing filter criteria that hold up over time#
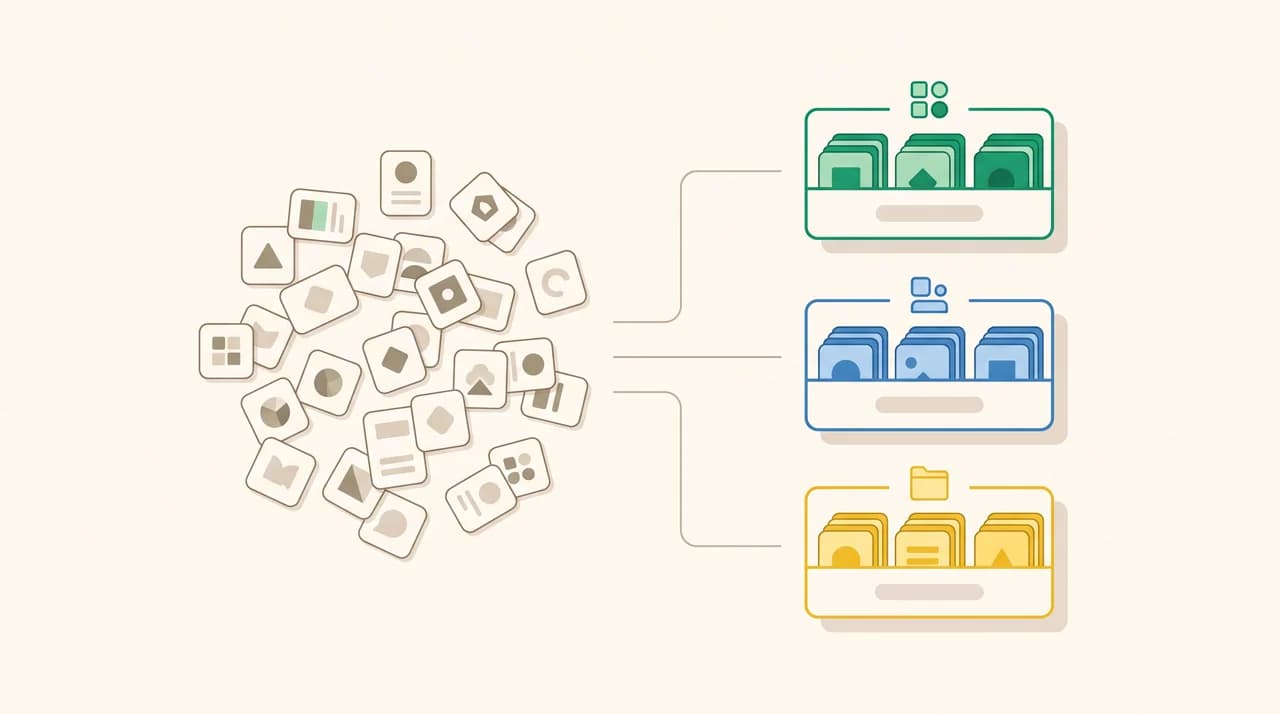
The mechanics of creating a filter are straightforward. The harder decision is which criteria to use. A filter built on an exact From address breaks the moment the sender rotates their outgoing address. A filter on a subject keyword misfires when the subject line format changes. The criteria you choose here determine whether your filter system is still running accurately in six months or quietly failing on every third message.
The most stable criteria are the ones that are structurally hard to change accidentally. A sender domain — @shopify.com, @notion.so, @your-client.com — stays constant even when the specific From address rotates, because billing, support, and notification emails from the same company can all share one domain while each using a different local part. A filter using From: @yourdomain.com catches all of them under one rule.
For your own organizational structure, the most reliable label systems have clear, non-overlapping definitions: one label per client, one per project, one per billing context. When a message could belong in two categories — a receipt from a client account, a support thread that is also an invoice query — Gmail filters cannot apply two labels from a single filter action, but you can stack two separate filters pointing at the same message. Build the taxonomy around one clean dimension at a time, then layer additional filters for the cross-cutting cases.
| Criteria | Stability | Best used for |
|---|---|---|
| From: exact address | Low — breaks if sender rotates their address | Known individuals at a fixed, controlled address |
| From: @domain.com | High — stable across address rotations | Services, vendors, clients across any address on that domain |
| Subject: keyword | Medium — breaks if subject template changes | Alerts and notifications with predictable subject lines |
| Has the words: | Medium — depends on body text staying consistent | Specific project names, ticket IDs, or account numbers |
| Has attachment: | High — structural, not text-dependent | Invoice routing, file-receipt filing |
| Has the words: list-unsubscribe | High — stable mailing-list identifier present in bulk mail | Newsletter and bulk-sender routing |
Gmail auto-labelling across devices and clients#
Filters run on Google's servers, not in your local browser or app. Gmail applies the label before the message ever reaches your device. Any client that accesses your Gmail account — the mobile app, Apple Mail, Outlook, or any IMAP client — sees the label already on the message. You do not need to configure anything extra to see auto-labels on your phone or in a third-party mail client.
The restriction is only on creating and editing filters, not on the labels they apply.
| Environment | Create filters | Edit filters | Auto-labels appear |
|---|---|---|---|
| Gmail web (desktop browser) | Yes | Yes | Yes |
| Gmail mobile app (iOS / Android) | No | No — can delete only | Yes — label applied server-side before sync |
| Google Workspace (work account) | Yes, if admin permits | Yes | Yes |
| Apple Mail, Outlook, Thunderbird via IMAP | No — filters are a Gmail server setting | No | Yes — label already on message at sync |
| Other IMAP clients | No | No | Yes — Gmail applies labels before IMAP delivery |
Why Gmail auto-labels sometimes stop matching#
If a filter that worked has stopped catching the right messages, the cause is almost always one of the following. The fix is specific to the cause, so diagnosing first saves you rebuilding a filter that will fail again for the same reason.
The From address changed. Bulk senders, SaaS products, and transactional services rotate From addresses regularly while keeping the same domain. A filter on [email protected] misses [email protected] and [email protected]. Switch the filter's From: condition to @service.com to match the whole domain and pick up every rotation automatically.
The criteria are too specific and combine with AND, not OR. Gmail filters combine multiple fields using AND logic. If you set From: [email protected] and Subject: invoice, the filter only fires when both are true simultaneously. A message from that sender with a different subject line slips through untagged. Remove the Subject condition if you want all mail from that sender labelled, or build a second filter for the alternate subject pattern.
The filter was created after the message arrived. Gmail filters do not apply retroactively. Messages already in your inbox when the filter was saved stay unlabelled unless you checked Also apply to matching conversations when you saved it. Edit the filter, change nothing in the criteria, and re-save with that box checked to catch the existing backlog.
The subject line template changed. Transactional emails from software products update their subject formats with product releases. If your filter matched 'Receipt for order #' and the vendor switched to 'Your invoice is ready,' the filter goes silent. Rebuild the criteria around the sender domain instead of the subject text.
Test before you add Skip the Inbox
A faster way to keep your labels current#
Static filters handle the senders and subjects you anticipated when you built them. They miss the mail you did not predict — a new contact who has not been added to a rule yet, a subject line that drifted, a thread that belongs in two places at once. The ongoing cost is real maintenance: as your work evolves, you revisit and rebuild the filter set.
We build AI Emaily, an AI-native email client with a Rules Brain that applies labels based on what a message actually says rather than what it literally matches. You describe the rule once in plain English — 'anything about Project Atlas goes under Atlas, anything from our accountants is Finance' — and the brain handles the rest, including senders and phrasings you did not anticipate when you wrote the rule. For anyone managing several client projects across multiple sender addresses, that coverage is exactly where static Gmail filters break down and where a comprehension-based brain holds up.
There is a 7-day free trial if you want to test it on your own inbox. See AI Emaily pricing for the current plans.
Frequently asked
See it in AI Emaily
Keep reading

Written by
Nafiul HasanNafiul Hasan is an entrepreneur and AI automation system builder with 10+ years of experience turning messy, manual workflows into reliable automated systems. He designs and ships AI enterprise solutions end-to-end — the agent logic, the data plumbing, and the product people actually use — and founded AI Emaily to give busy professionals their attention back. He writes here from the builder's seat: what works, what breaks, and how to put AI to work without giving up control.